By the way, this was during the same day as the
sugar cookies incident. So that Friday I not only attempted to make two batches of cookies, but have my first cookie-rolling experience... Am I dumb? Like, I've never used a rolling pin before and now I'm attempting to make two batches (one of which- the Samoas, required hours and hours of time according to the website I got it from).
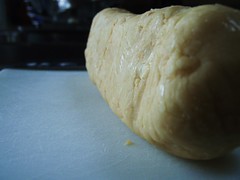
Anyways, so that day I made the sugar cookie dough and stuck it in the fridge to harden while I made the Samoas.
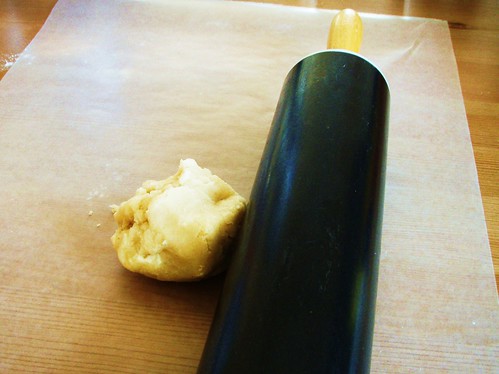
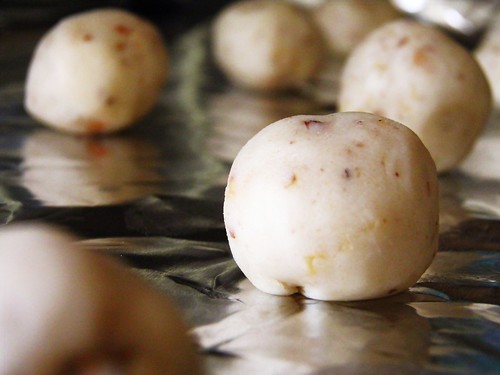
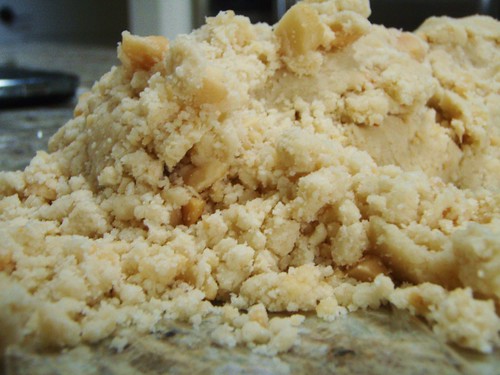
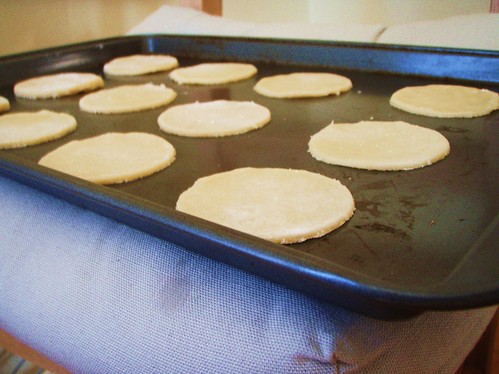
I got the dough in a ball and I stared at it. What to do with this? After watching enough Food Network, I decided to place wax paper on both sides and then roll, avoiding sticking to anything.
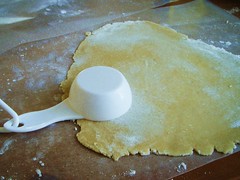
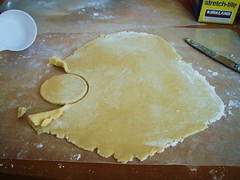
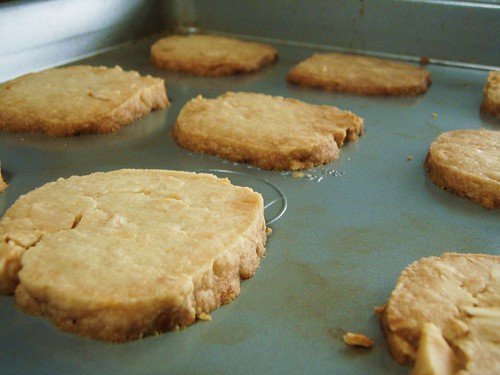
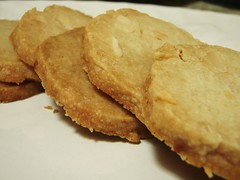
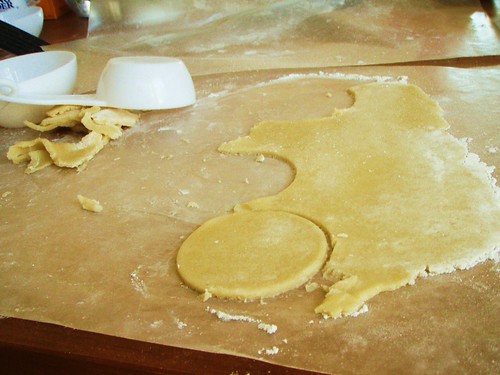
It took me like 20 minutes to finally learn how to roll it out evenly and without cracking. Now on to my next issue- cookie cutters. Unfortunately, Samoas aren't in the shape of cute butterflies and hearts, which is all that I have. I didn't have any 1 1/2 inch circular cookie cutter- but why would I? It's wouldn't make a cute cookie. So the next best thing, my 1/4 cup measuring cup. And yes, it was a huge pain in my ass.
Eventually getting the hang of it (but not really).
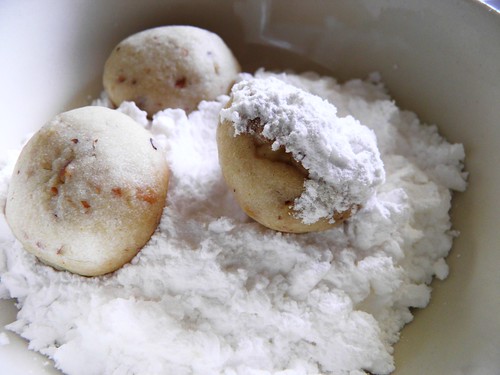
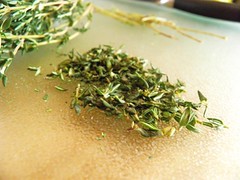
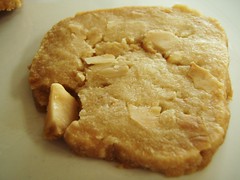
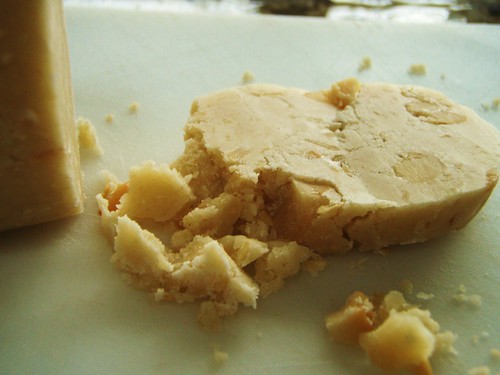
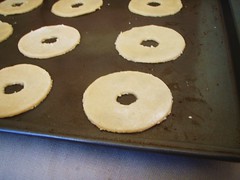
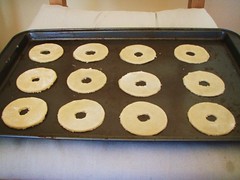
Okay, something is wrong here. Samoas have a hole in the center. The website I got this from suggested big straws to cut out the centers. Um, sorry- I don't own big straws, nor do I have the money to buy big straws. So I got my knife and individually cut mini circles in each of them. Yayy (not).
I'm spending way too much time on these cookies and I haven't even gotten to the main part of it yet.
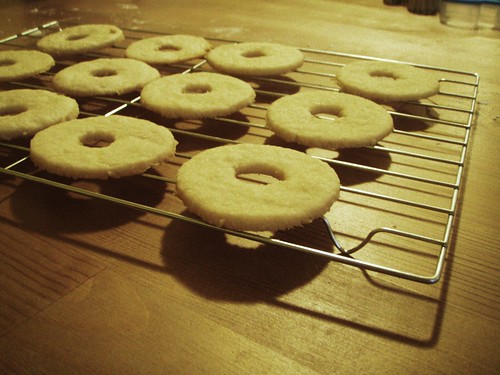
Cooling on my cooling rack.

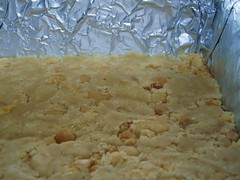
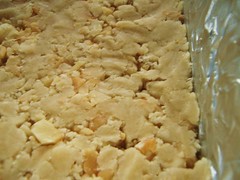
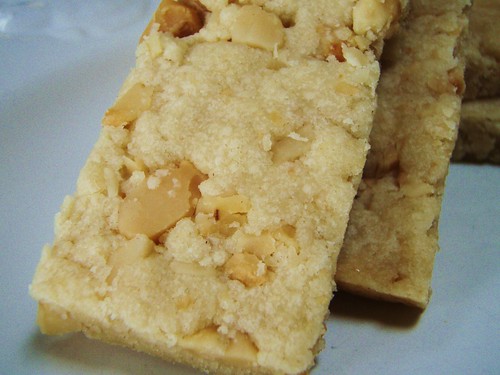
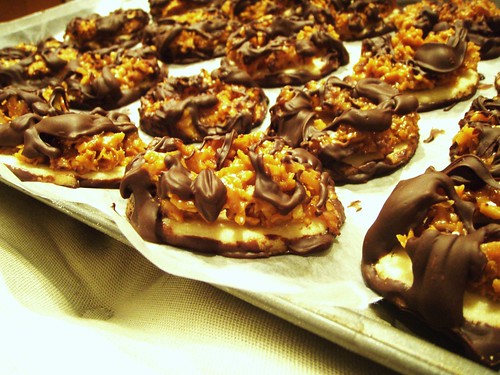
I don't have any pictures of me making the coconut, the caramel, or the chocolate part. Let me just say that doing those parts were horrible and extremely time consuming. The website was right- only do this recipe if you have a lot of time on your hands. I guess that's why most of the other websites suggest you make Samoas bars as opposed to cookies.
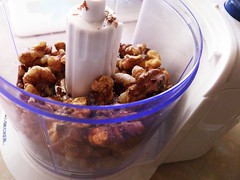
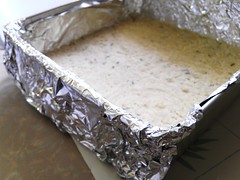
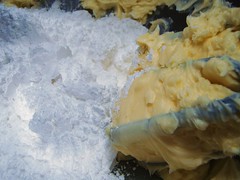
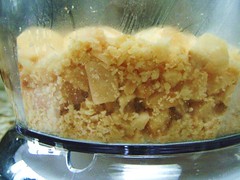
So then you put the shredded coconut on a baking rack in the oven for 20 minutes, stirring every 5 minutes. So basically I was chained to the oven for 20 minutes. Then, you get a bunch of caramels, unwrap them, and microwave them, stirring every so often. The thing is, as soon as you take them out of the microwave, they harden immediately. I don't know how I'm supposed to do this if it turns back to caramel candies the second I want to mix in the coconut.
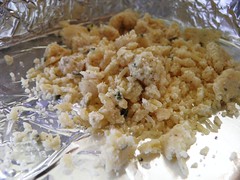
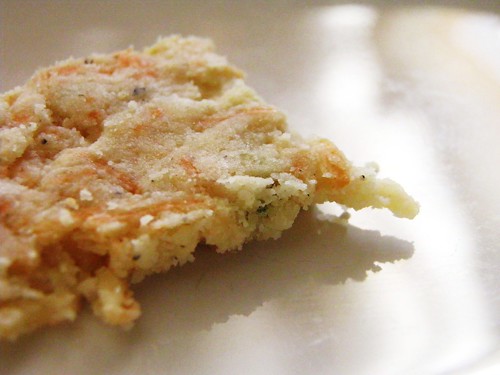
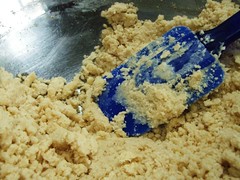
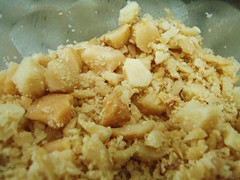
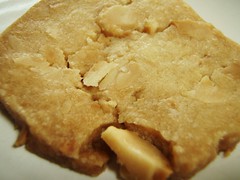
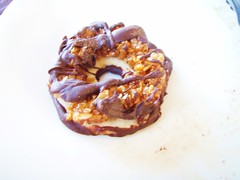
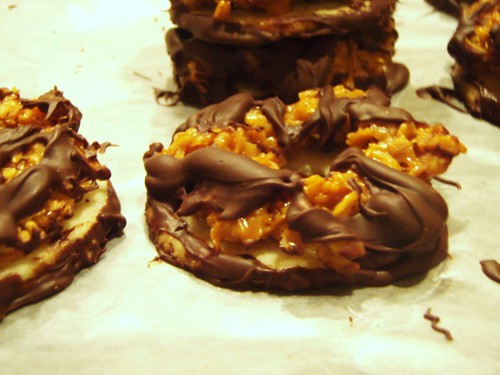
After a while playing around, I finally combined the coconut and caramel, and began placing this gunk on the shortbread cookies. Very sticky! Yet- it wouldn't stick to the cookies. I had to force little balls of the gunk and form a little wreath looking thing around the shape of the shortbread. Eventually it made a circle of hard caramels and coconut- but unfortunately it didn't stick to the shortbread, it just laid on top. That's where I hoped the chocolate would come in play.
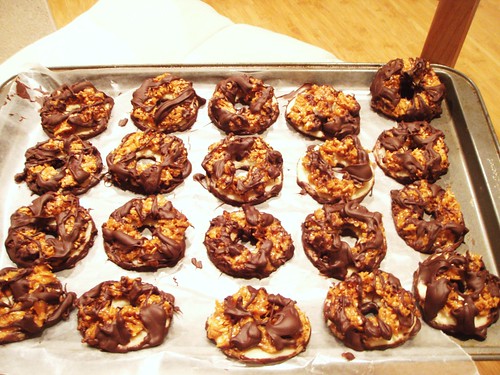
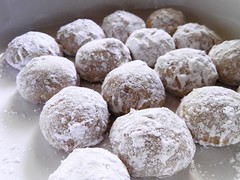
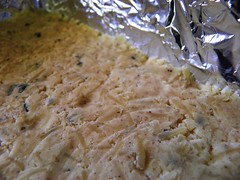
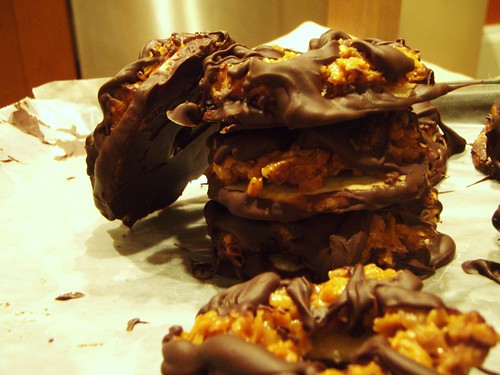
I put a ton of chocolate morsels in a bowl and nuked them. With that, I first dipped the bottom of the cookies, hoping that the chocolate would stick the caramel to the shortbread- which it eventually did. And then the stupid drizzle of chocolate on the top, which I could not do neatly. My hands were completely brown from chocolate, my table was a mess, and the stupid Samoas were taunting me. I had no idea how they tasted, or if they'd even turn out good. To the fridge they went so they could harden.
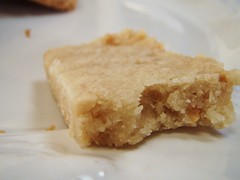
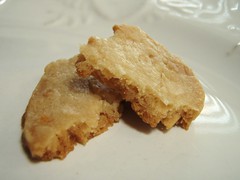
So that night I took the Samoas out of the fridge and headed to my boyfriend’s house. We each tried one (straight from the fridge), and nearly broke our teeth. It was like a hard chewy caramel thing. Needless to say, I was very disappointed, especially since this was the same day and same time as my horrible sugar cookies experience.

So I put the Samoas back in the tupperwear and left them on the counter. In the morning, I tried another one- and surprisingly it was so soft and nice. I assumed it was the refrigerator which kept it so hard (which it was partially). After all of us trying more and more of them, we realized that some were harder than others. So, I mean- I guess it wasn't a total bust as I originally wrote it off as.
---SAMOAS RECIPE---Taken from
Baking Bitescookies:
1 cup butter, soft
1/2 cup sugar
2 cups all purpose flour
1/4 teaspoon baking powder
1/2 teaspoon salt
1/2 teaspoon vanilla extract
up to 2 tablespoon milk (
I used more than 2 tbsp)
1. Preheat oven to 350 degrees F.
2. In a large mixing bowl, cream together butter and sugar. Mix in flour, baking powder and salt at a low speed, followed by the vanilla and milk, adding in the milk as needed to make the dough come together without being sticky (it’s possible you might not need to add milk at all). The dough should come together into a soft, not-too-sticky ball. Add in a bit of extra flour if your dough is very sticky.
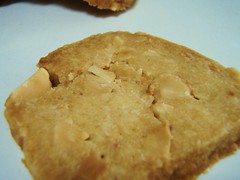
3. Roll the dough (working in two or three batches) out between pieces of wax paper to about 1/4-inch thickness (or slightly less) and use a 1 1/2-inch cookie cutter to make rounds. Place on a parchment lined baking sheet and use a knife, or the end of a wide straw, to cut a smaller center hole. Repeat with remaining dough.
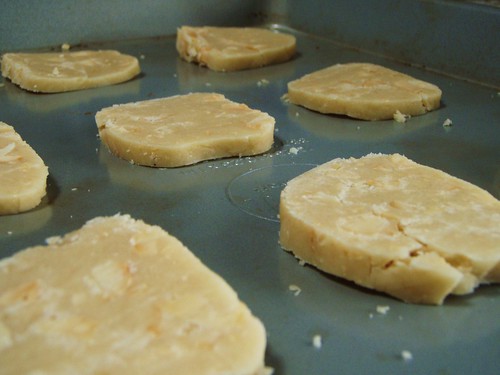
4. Bake cookies for 10-12 minutes, until bottoms are lightly browned and cookies are set.
5. Cool for a few minutes on the baking sheet then transfer to a wire rack to cool completely.
topping:
3 cups shredded coconut (sweetened or unsweetened) (
sweetened, duh)
12-oz good-quality chewy caramels (
or cheap Target brand)
1/4 teaspoon salt
3 tablespoon milk
8 oz dark or semisweet chocolate (
or semisweet morsels)
1. Preheat oven to 300 degrees F. Spread coconut evenly on a parchment-lined baking sheet and toast 20 minutes, stirring every 5 minutes, until coconut is golden. Cool on baking sheet, stirring occasionally. Set aside.
2. Unwrap the caramels and place in a large microwave-safe bowl with milk and salt. Cook on high for 3-4 minutes, stopping to stir a few times to help the caramel melt. When smooth, fold in toasted coconut with a spatula. (
I had the hardest time with this)
3. Using the spatula or a small offset spatula, spread topping on cooled cookies, using about 2-3 teaspoons per cookie. Reheat caramel for a few seconds in the microwave if it gets too firm to work with.
4. While topping sets up, melt chocolate in a small bowl. Heat on high in the microwave in 45 second intervals, stirring thoroughly to prevent scorching. Dip the base of each cookie into the chocolate and place on a clean piece of parchment paper. Transfer all remaining chocolate (or melt a bit of additional chocolate, if necessary) into a piping bag or a ziplock bag with the corner snipped off and drizzle finished cookies with chocolate.
5. Let chocolate set completely before storing in an airtight container.
amount:Makes about 3 1/2-4 dozen cookies.
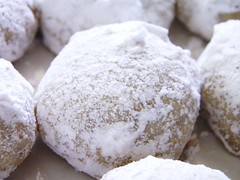
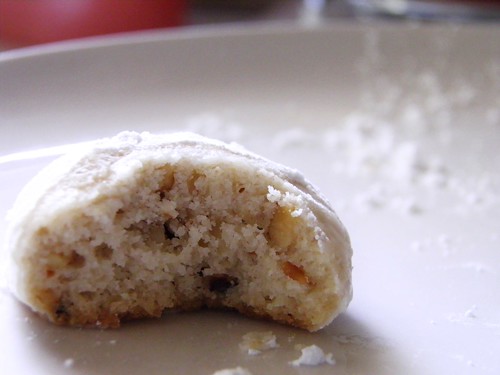
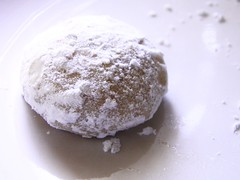 Americans are quite ignorant. We think French Fries come from France, Cheddar cheese is a part of the "Mexican Blend" cheese package, and that Russian Tea Cakes have an origin of Russia. Me, being an American of course, fall somewhat into this category (hey, I know fries come from Belgium!). To commemorate my (new) Russian boyfriend, I decided I'd make some Russian Tea Cakes. I called him, across country, as I was still visiting my grandma on vacation, to tell him of the news.
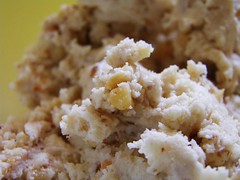
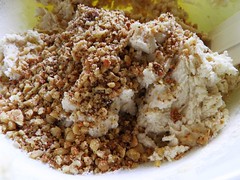 "Uh...I've never heard of Russian Tea Cakes," he says. I tell him it's a Melting Moments Cookie plus some type of chopped nut. "Nope... it's not Russian. Neither is Russian Dressing." Point proven.