Showing posts with label addition - caramel. Show all posts

Sunday, February 14, 2010

valentine's day - caramel cupcakes - this is what i get for being an overachiever

caramel cupcakes (valentine's day) - 21I'm the type of person who doesn't want to just settle on a basic recipe. I will purposely find the hardest and most time consuming recipe, just so I can conquer it and feel like a bad ass. By bypassing all these basic fundamental recipes, I guess I'll never understand how the magical mysteries of baking works. Here's an example: Cake. I have yet to bake a basic yellow cake or basic chocolate cake recipe. Reason being that I think it's too freakin' boring. If I was going to go all out and bake something, then I want it to be a fancy recipe like red velvet or ricotta or cookie dough filled cake. Which is why for Valentine's Day, I thought I had to pull out all the stops.
caramel cupcakes (valentine's day) - 01caramel cupcakes (valentine's day) - 02
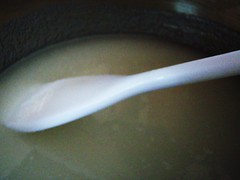
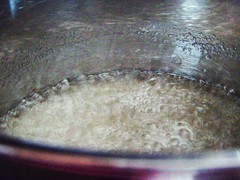
And so Valentine's Day was approaching and I thought I'd bake some caramel cupcakes I found off a website. The recipe used a "caramel syrup" in the batter and icing, and this was my attempt to make it.
caramel cupcakes (valentine's day) - 04caramel cupcakes (valentine's day) - 05
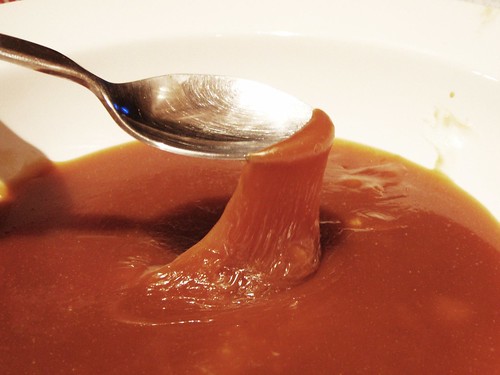
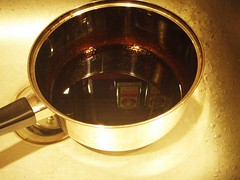
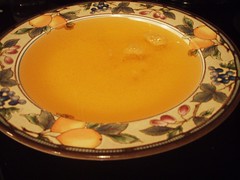
I've made caramel before (for the caramel chocolate crunch tart) so I didn't think this would be such a feat. Unfortunately, either the recipe wasn't thorough in its directions, or I'm just a retard, but the first batch didn't turn out so well (left). It tasted like bitter metal (that's the nicest way to put it), so I scratch it and made a new batch (right). See the big difference in color?
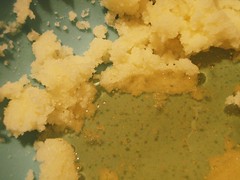
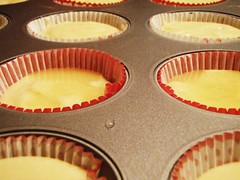
caramel cupcakes (valentine's day) - 07caramel cupcakes (valentine's day) - 11
This "syrup" wasn't very caramely though; but I assumed it was because it was a "syrup" as opposed to strictly being caramel. I filled each heart-themed cupcake liner with the batter, but decided I'd fiddle around with them a bit. Some cupcakes got filled entirely with the batter, some got different amounts of caramel syrup blended throughout, and some just got a whole spoonful of syrup ladled on top. Each specific liner got a different way of preparation (notice how the second row of cupcakes have a liquid floating on top, opposed to the cupcakes further back which probably had syrup in the center).
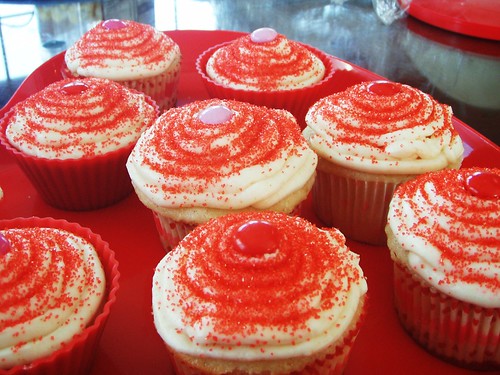
caramel cupcakes (valentine's day) - 20
Unfortunately I forgot which liner had which style of batter. Either way, they sure looked pretty!
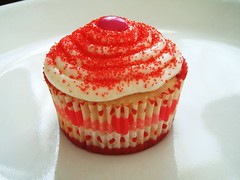
caramel cupcakes (valentine's day) - 23caramel cupcakes (valentine's day) - 27
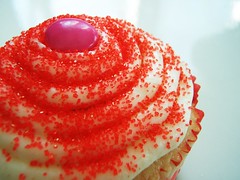
The frosting also used a good amount of this mysterious "caramel syrup". I first made a mound on each cupcake (I saw this on a website) and then the frosting gets piped on in coils to make that mountain shape so familiar with bakery style cupcakes.
caramel cupcakes (valentine's day) - 30
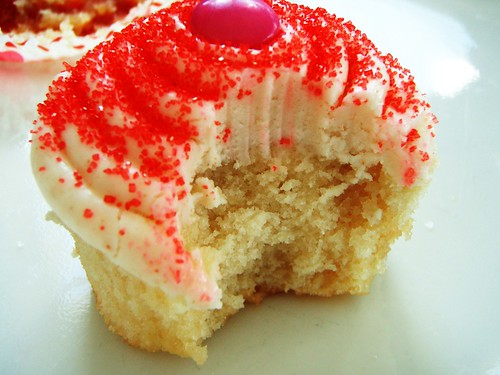
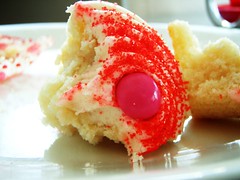
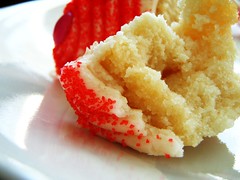
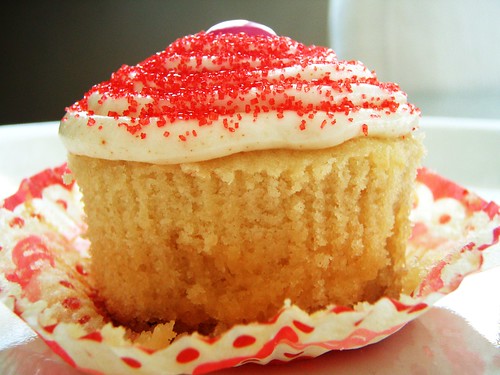
My boyfriend noted how sweet these cupcakes were (he definitely had one that had an excessive amount of this caramel syrup). I agree though, that extra spoonful or so of syrup made these very sweet, even for my taste.
caramel cupcakes (valentine's day) - 39caramel cupcakes (valentine's day) - 42
Another comment was how dense these were. I don't understand... maybe it was because of the extra syrup, or maybe it was because this was a shitty recipe.
caramel cupcakes (valentine's day) - 29
My boyfriend's mom told my boyfriend that she knows that one day I'll find the best cupcake recipe... Translation: I need to find the best basic cupcake recipe. I need to quit dabbling with these fancy shmancy recipes, and I need to start at the bottom- Here I come boring yellow cake recipe.

---RECIPE---
Taken from Sugarlaws.

ingredients:
10 tablespoons unsalted butter, room temperature
1+1/4 cups granulated sugar
1/2 teaspoon salt
2 eggs
1 teaspoon vanilla extract
2 cups all-purpose flour
1/2 teaspoon baking powder
1 cup milk
1/3 cup caramel syrup (see below)
caramel butter frosting (see below)

directions:
1. Preheat oven to 350F
2. Butter one tall 9-inch cake pan (I made cupcakes, so line muffin tins).
3. In the bowl of a stand mixer fitted with a paddle attachment, cream butter until smooth. Add sugar and salt & cream until light and fluffy.
4. Slowly pour room temperature caramel syrup into bowl. Scrape down bowl and increase speed. Add eggs/vanilla extract a little at a time, mixing well after each addition. Scrape down bowl again, beat mixture until light and uniform.
5. Sift flour and baking powder.
6. Turn mixer to lowest speed, and add one third of the dry ingredients. When incorporated, add half of the milk, a little at a time. Add another third of the dry ingredients, then the other half of the milk and finish with the dry ingredients. (This is called the dry, wet, dry, wet, dry method in cake making. It is often employed when there is a high proportion of liquid in the batter.)
7. Take off mixer and by hand, use a spatula to do a few last folds, making sure batter is uniform. Turn batter into prepared cake pan.
8. Place cake pan on cookie sheet or 1/2 sheet pan. Set first timer for 30 minutes, rotate pan and set timer for another 15-20 minutes. Your own oven will set the pace. Bake until sides pull away from the pan and skewer inserted in middle comes out clean. Cool cake completely before icing it.

caramel syrup recipe:
2 cups sugar
1/2 cup water
1 cup water (for "stopping" the caramelization process (no idea what this means) )

1. In a small stainless steel saucepan, with tall sides, mix water and sugar until mixture feels like wet sand. Brush down any stray sugar crystals with wet pastry brush. Turn on heat to highest flame. Cook until smoking slightly: dark amber. (my first batch, I probably went a little too far, whereas the second batch I was so hesitant that it was probably underdone.)
2. When color is achieved, very carefully pour in one cup of water. Caramel will jump and sputter about! It is very dangerous, so have long sleeves on and be prepared to step back.
3. Whisk over medium heat until it has reduced slightly and feels sticky between two fingers. (Obviously wait for it to cool on a spoon before touching it.)

caramel butter frosting recipe:
12 tablespoons unsalted butter
1 pound confectioner’s sugar, sifted
4-6 tablespoons heavy cream (I used milk, and probably only 4 tablespoons)
2 teaspoons vanilla extract
2-4 tablespoons caramel syrup (I wanted it to be extra-caramely so I used 4)
Kosher or sea salt to taste

1. Cook butter until brown. Pour through a fine meshed sieve into a heatproof bowl, set aside to cool.
2. Pour cooled brown butter into mixer bowl.
3. In a stand mixer fitted with a paddle or whisk attachment, add confectioner’s sugar a little at a time. When mixture looks too chunky to take any more, add a bit of cream and or caramel syrup. Repeat until mixture looks smooth and all confectioner’s sugar has been incorporated. Add salt to taste.

Saturday, December 5, 2009

chocolate crunched caramel tart - for the birthday girl

chocolate crunched caramel tart - 36My friend's birthday was nearing, so I asked her what her favorite flavors/ingredients were so I could bake her something special. From what I got out of her text messages, she liked chocolate, caramel, and nuts. Luckily for me, typing those three things into Google I got TWD's Chocolate-Crunched Caramel Tart. Looking through others' pictures of this pie, I immediately fell in love. It was a pie crust made in a tart pan (giving it the cute fluted edges), with a layer of caramel and nuts, and then with a final layer of thick chocolate ganache on top. It looked so decadent and delicious that I couldn't help but have to make it. (Also, since my boyfriend doesn't care for chocolate that much- this was another excuse to bake something he wouldn't eat otherwise.)

chocolate crunched caramel tart - 10chocolate crunched caramel tart - 11
The first layer is obviously the crust. I didn't use Dorie's crust recipe- as it was a typical crust which needed cold butter, cold water, etc. I just wasn't ready to make something this temperamental, especially when it is for someone's birthday and I obviously couldn't chance a mishap. So I used Joy of Baking's Sweet Pastry Crust which I used for the Strawberry Tart I made for Thanksgiving. It was an easy recipe with easy directions. BUT- as I was rushing and attempting to get my other ingredients ready for the caramel, I clumsily forgot to line it with aluminum foil and add the pie weights. I was so angry once I realized this. The pie obviously shrunk, and the edges were slightly burned. Also, there were some craters and bulges on the bottom, although they weren't too bad since I poked it with the fork first.

chocolate crunched caramel tart - 17
The next layer was the caramel- homemade caramel nonetheless. Being that I'm terrified of hot and bubbly things, my handy boyfriend replaced me for the stirring part. I poured all the ingredients and followed the recipe thoroughly, while he stood in front of me and protected me from the scorching caramel. For my first try, it came out surprisingly good. I've heard scary stories about peoples' first tries at making caramel- which has always made me hesitant to try. It turned out much better than I thought, and I even caught my boyfriend dipping his finger in for a taste.
chocolate crunched caramel tart - 22chocolate crunched caramel tart - 23
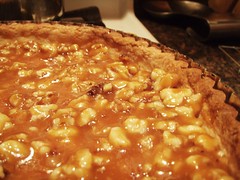
Now time to add the nuts. While Dorie used roasted peanuts, all I had on hand were walnuts. Pouring it into the pie crust was a little hard, mostly because the nuts made it hard to spread.

chocolate crunched caramel tart - 02
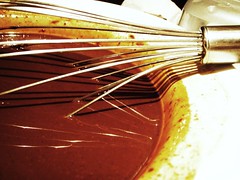
And then the chocolate ganache layer- my absolute favorite. I kept eating all the morsels that I had to re-measure the chocolate a few times.

chocolate crunched caramel tart - 08chocolate crunched caramel tart - 09
Although this looks gross and yellowish, it was absolutely delicious (blame the yellow shade on the lighting). After I poured it into the pan to firm up, I licked the entire bowl and the spatula.

chocolate crunched caramel tart - 33
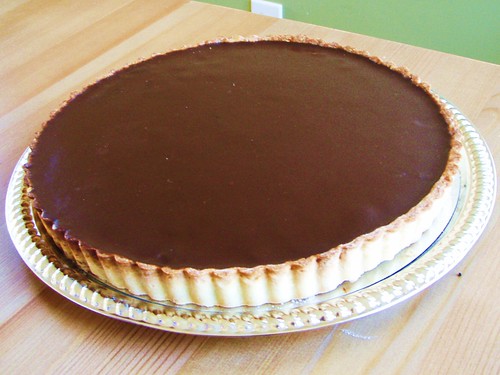
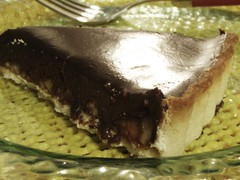
The following morning, this was the beautiful tart I pulled out from the fridge!

chocolate crunched caramel tart - 29chocolate crunched caramel tart - 30
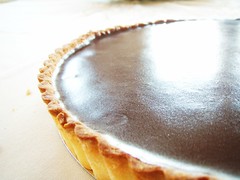
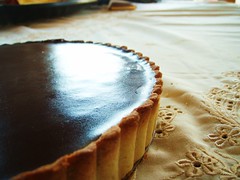
Look at the shiny gloss on this bad boy.

chocolate crunched caramel tart - 34chocolate crunched caramel tart - 35
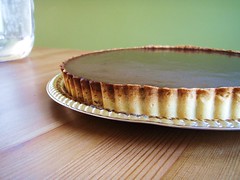
Yeah the edges are still burnt, the tart is uneven, some of the chocolate spilled over, and I still have no idea what it looked like in the middle- But I was still proud of my baby.

chocolate crunched caramel tart - 37
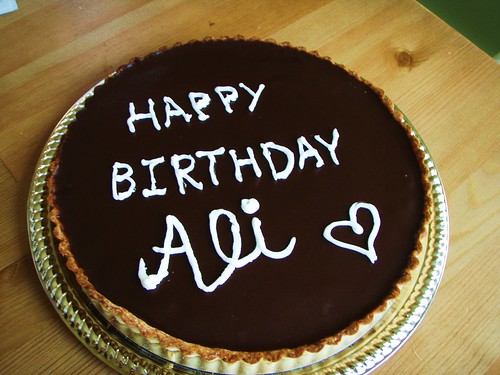
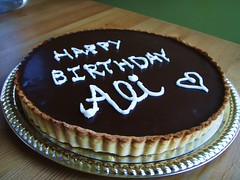
What to do with leftover royal icing? Write!

So we went to the city for her birthday dinner- a double date of course. The dinner was great, so was the dessert- but we still somehow had room for the tart when we reached home. The lighting is once again erking me, but I have no other photos.

chocolate crunched caramel tart - 41
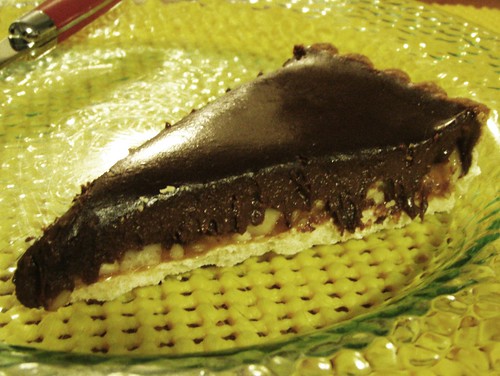
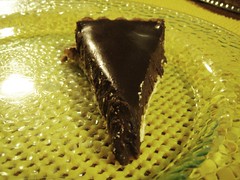
See how the ganache is firm enough that it doesn't fall, yet soft enough that it drips over the caramel. Yumm.. and the specks of nuts in the caramel were the right amount of crunch.

chocolate crunched caramel tart - 42chocolate crunched caramel tart - 43

chocolate crunched caramel tart - 47
Layers!

---RECIPE---
TWD, from Chocolate Moosey, recipe here.

Monday, November 23, 2009

girl scout samoas- denture-wearers be warned

Girl Scout Samoas - 17By the way, this was during the same day as the sugar cookies incident. So that Friday I not only attempted to make two batches of cookies, but have my first cookie-rolling experience... Am I dumb? Like, I've never used a rolling pin before and now I'm attempting to make two batches (one of which- the Samoas, required hours and hours of time according to the website I got it from).

Anyways, so that day I made the sugar cookie dough and stuck it in the fridge to harden while I made the Samoas.

01
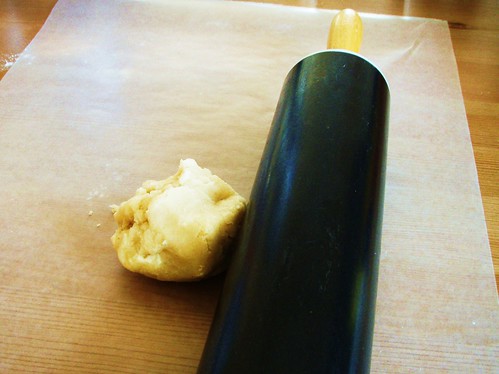
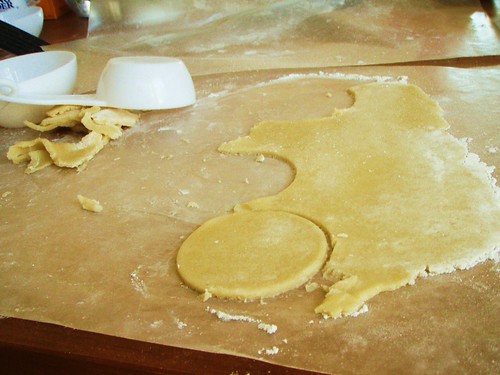
I got the dough in a ball and I stared at it. What to do with this? After watching enough Food Network, I decided to place wax paper on both sides and then roll, avoiding sticking to anything.

0203
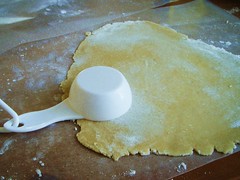
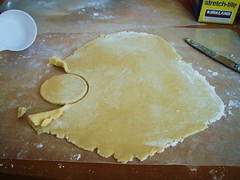
It took me like 20 minutes to finally learn how to roll it out evenly and without cracking. Now on to my next issue- cookie cutters. Unfortunately, Samoas aren't in the shape of cute butterflies and hearts, which is all that I have. I didn't have any 1 1/2 inch circular cookie cutter- but why would I? It's wouldn't make a cute cookie. So the next best thing, my 1/4 cup measuring cup. And yes, it was a huge pain in my ass.

04
Eventually getting the hang of it (but not really).

05
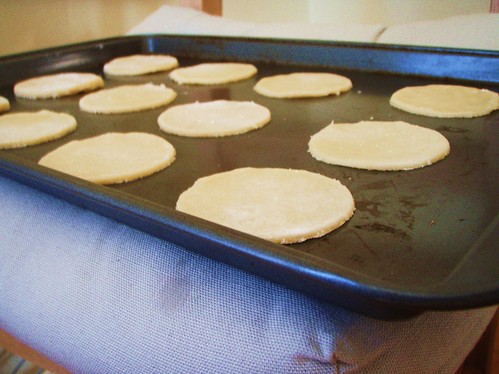
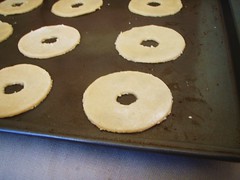
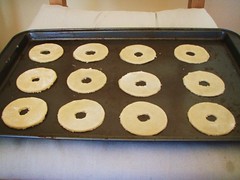
Okay, something is wrong here. Samoas have a hole in the center. The website I got this from suggested big straws to cut out the centers. Um, sorry- I don't own big straws, nor do I have the money to buy big straws. So I got my knife and individually cut mini circles in each of them. Yayy (not).

0706
I'm spending way too much time on these cookies and I haven't even gotten to the main part of it yet.

09
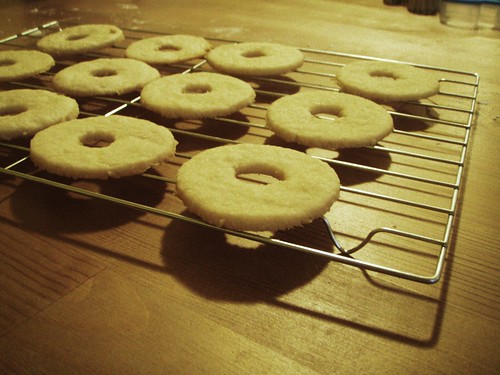
Cooling on my cooling rack.

10
I don't have any pictures of me making the coconut, the caramel, or the chocolate part. Let me just say that doing those parts were horrible and extremely time consuming. The website was right- only do this recipe if you have a lot of time on your hands. I guess that's why most of the other websites suggest you make Samoas bars as opposed to cookies.

12
So then you put the shredded coconut on a baking rack in the oven for 20 minutes, stirring every 5 minutes. So basically I was chained to the oven for 20 minutes. Then, you get a bunch of caramels, unwrap them, and microwave them, stirring every so often. The thing is, as soon as you take them out of the microwave, they harden immediately. I don't know how I'm supposed to do this if it turns back to caramel candies the second I want to mix in the coconut.

15
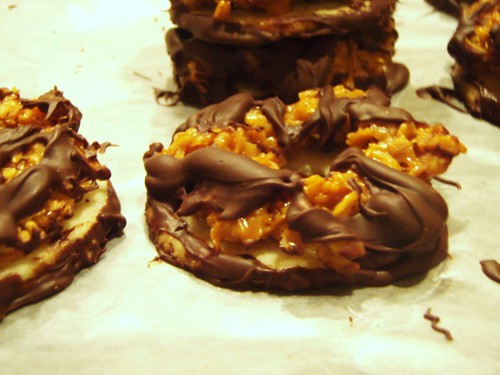
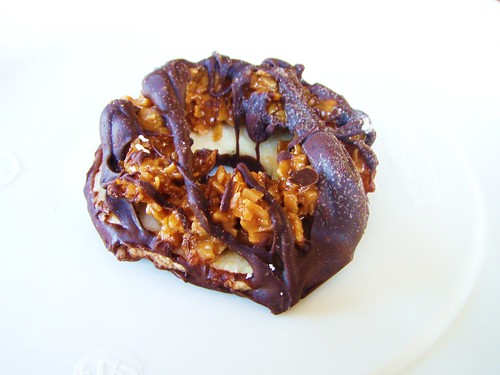
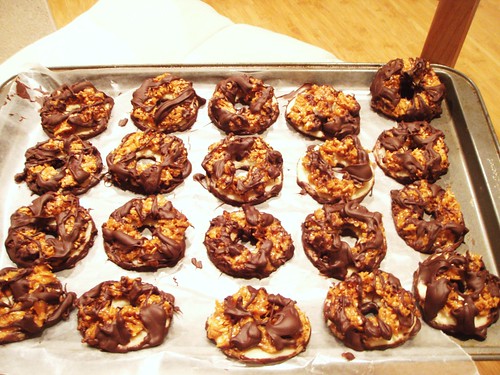
After a while playing around, I finally combined the coconut and caramel, and began placing this gunk on the shortbread cookies. Very sticky! Yet- it wouldn't stick to the cookies. I had to force little balls of the gunk and form a little wreath looking thing around the shape of the shortbread. Eventually it made a circle of hard caramels and coconut- but unfortunately it didn't stick to the shortbread, it just laid on top. That's where I hoped the chocolate would come in play.

16
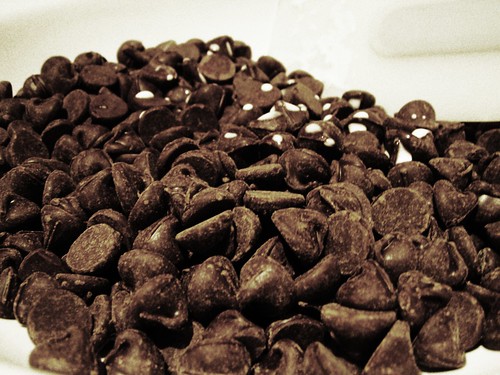
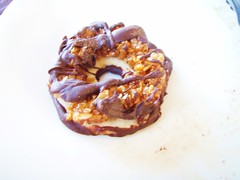
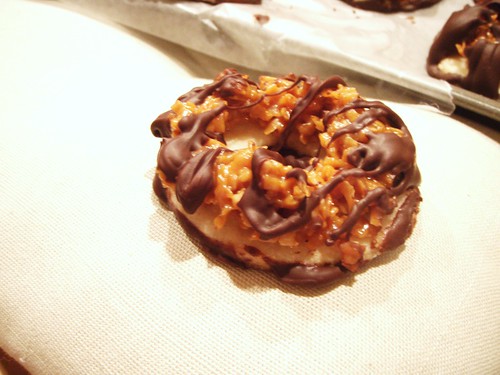
I put a ton of chocolate morsels in a bowl and nuked them. With that, I first dipped the bottom of the cookies, hoping that the chocolate would stick the caramel to the shortbread- which it eventually did. And then the stupid drizzle of chocolate on the top, which I could not do neatly. My hands were completely brown from chocolate, my table was a mess, and the stupid Samoas were taunting me. I had no idea how they tasted, or if they'd even turn out good. To the fridge they went so they could harden.

11
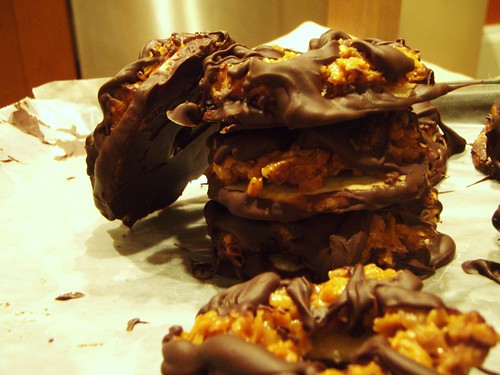
So that night I took the Samoas out of the fridge and headed to my boyfriend’s house. We each tried one (straight from the fridge), and nearly broke our teeth. It was like a hard chewy caramel thing. Needless to say, I was very disappointed, especially since this was the same day and same time as my horrible sugar cookies experience.

Girl Scout Samoas - 18
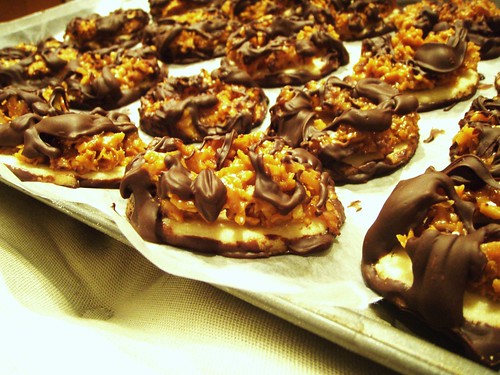
So I put the Samoas back in the tupperwear and left them on the counter. In the morning, I tried another one- and surprisingly it was so soft and nice. I assumed it was the refrigerator which kept it so hard (which it was partially). After all of us trying more and more of them, we realized that some were harder than others. So, I mean- I guess it wasn't a total bust as I originally wrote it off as.

---SAMOAS RECIPE---
Taken from Baking Bites

cookies:
1 cup butter, soft
1/2 cup sugar
2 cups all purpose flour
1/4 teaspoon baking powder
1/2 teaspoon salt
1/2 teaspoon vanilla extract
up to 2 tablespoon milk (I used more than 2 tbsp)

1. Preheat oven to 350 degrees F.
2. In a large mixing bowl, cream together butter and sugar. Mix in flour, baking powder and salt at a low speed, followed by the vanilla and milk, adding in the milk as needed to make the dough come together without being sticky (it’s possible you might not need to add milk at all). The dough should come together into a soft, not-too-sticky ball. Add in a bit of extra flour if your dough is very sticky.
3. Roll the dough (working in two or three batches) out between pieces of wax paper to about 1/4-inch thickness (or slightly less) and use a 1 1/2-inch cookie cutter to make rounds. Place on a parchment lined baking sheet and use a knife, or the end of a wide straw, to cut a smaller center hole. Repeat with remaining dough.
4. Bake cookies for 10-12 minutes, until bottoms are lightly browned and cookies are set.
5. Cool for a few minutes on the baking sheet then transfer to a wire rack to cool completely.

topping:
3 cups shredded coconut (sweetened or unsweetened) (sweetened, duh)
12-oz good-quality chewy caramels (or cheap Target brand)
1/4 teaspoon salt
3 tablespoon milk
8 oz dark or semisweet chocolate (or semisweet morsels)

1. Preheat oven to 300 degrees F. Spread coconut evenly on a parchment-lined baking sheet and toast 20 minutes, stirring every 5 minutes, until coconut is golden. Cool on baking sheet, stirring occasionally. Set aside.
2. Unwrap the caramels and place in a large microwave-safe bowl with milk and salt. Cook on high for 3-4 minutes, stopping to stir a few times to help the caramel melt. When smooth, fold in toasted coconut with a spatula. (I had the hardest time with this)
3. Using the spatula or a small offset spatula, spread topping on cooled cookies, using about 2-3 teaspoons per cookie. Reheat caramel for a few seconds in the microwave if it gets too firm to work with.
4. While topping sets up, melt chocolate in a small bowl. Heat on high in the microwave in 45 second intervals, stirring thoroughly to prevent scorching. Dip the base of each cookie into the chocolate and place on a clean piece of parchment paper. Transfer all remaining chocolate (or melt a bit of additional chocolate, if necessary) into a piping bag or a ziplock bag with the corner snipped off and drizzle finished cookies with chocolate.
5. Let chocolate set completely before storing in an airtight container.

amount:
Makes about 3 1/2-4 dozen cookies.