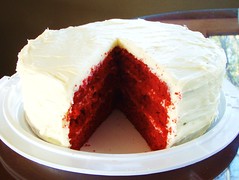
 So today is my first real day back home, and guess what I'm doing? Baking! My boyfriend's birthday is tomorrow and I want to make sure that I have his presents (including the cake) ready by tonight. First, I got to thinking what type of goodies I should bake for him... his favorite chocolate chip cookies? his adored blondies? ... Nah, I needed something spectacular that he would know I made especially for him. -Red Velvet Cake. He has been asking me to make this for him for a while now, but I have been refusing. First of all, it's not even a great tasting cake- it's just the red color that makes people think it tastes so good. But since it is my picky-eater's birthday, I have to comply with his wishes (he just doesn't know what's coming).
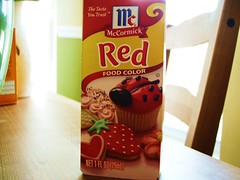
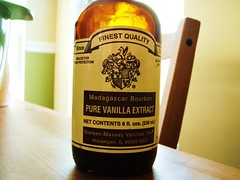
So an actual full 1 ounce of red food coloring gets added to the batter- that is a lot of artificial chemicals in one cake. One of the reasons why I postponed this recipe was because of the food coloring- first of all, it's useless and adds no taste whatsoever to the cake, and second of all it costs more than it's worth. I'm not saying it's expensive, but it's retarded to buy an ingredient that doesn't even add flavor to the dish. But I understand, we eat with our eyes first (although my boyfriend just eats regardless how something looks). And now to my next ingredient- vanilla! I am now the proud owner of the same fancy type of vanilla that my idol Ina Garten uses. This expensive pure Madagascar Bourbon vanilla (for example, I saw this bottle at a cooking boutique and the price was $30) will only be used on special occasions (a.k.a. never) but I figure I'd use a tad bit for my love's cake before it goes into to eternal storage. (And yes, it really does make a difference.)
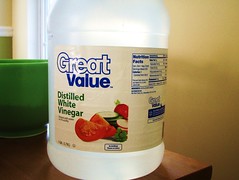
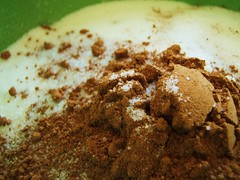
So the final main ingredients needed for this famous Red Velvet cake are white vinegar, cocoa powder, and buttermilk (no picture). And seriously, that is all that makes a Red Velvet cake (once again, proof that there is no flavor). Speaking of which, I went to the grocery store to find distilled white vinegar, but somehow couldn't find it. I ended up in Walmart looking for vinegar, only to find this huge 1 gallon sized container. Yes, I really did buy it- it was only 2 bones and I was tired and ready to go home. (P.S., I only needed 1 teaspoon of vinegar, LOL! Now I need to find vinegar recipes to get rid of this fattie). And then there is cocoa powder to help with the flavor, but of course, there is only 1 tablespoon in the entire recipe.
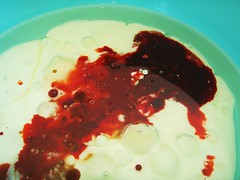

Once the wet ingredients get mixed together, the batter immediately turns bright red.
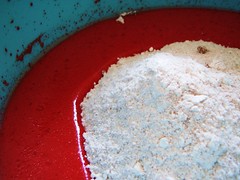

Even once I added the dry ingredients, the batter still remained bright red.

Holy shit this is bright.
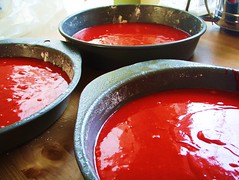
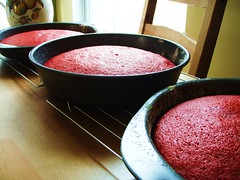
Then I attempted to evenly pour the batter into all 3 cake pans (it was pretty close, but one had a little more than the others). They go into the oven for about a half an hour, and out comes 3 huge bright red cakes.

Still amazingly red. Okay, I guess I'm starting to see the appeal... but I'll never be a huge Red Velvet fan.
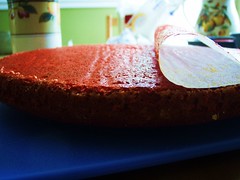

Then I cooled and prepared each cake to get ready to assemble.


So I lined the entire serving dish with parchment paper so I wouldn't make a mess, then I added my first layer. I put some cream cheese frosting on top, then placed my second layer. I looked at it for a while, realizing that it was uneven and there was too much of a gap between the two. I removed the second layer and shaved the first one down so that it would be even. This was my attempt to use my knife and saw the layers flat (a very messy ordeal).
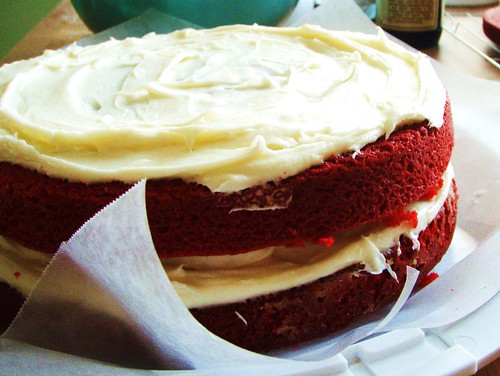
It's coming along better now.
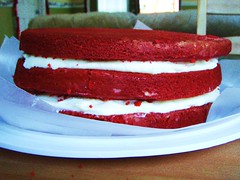

Once all three layers were complete, I smothered the entire cake with the frosting, to hopefully hide the red that was hidden underneath.

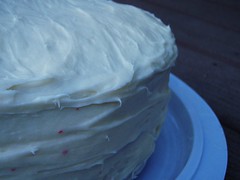
It didn't really work, because once you look closely you could see the little red flecks of cake. (Damn, I really wanted to trick my boyfriend into thinking this was just a regular cake.)

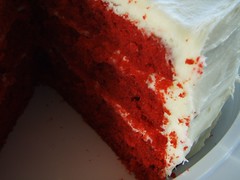
So later that night when I gave the cake to him, he easily figured out it was Red Velvet.
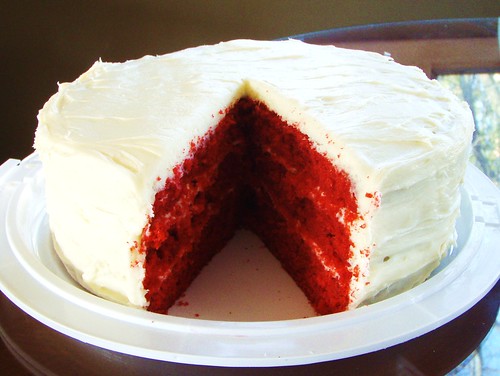
The good news was that he enjoyed it.
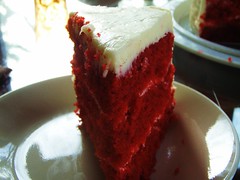
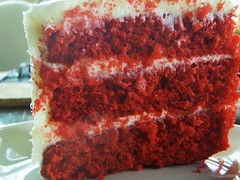
The only comment I got was that there should have been more frosting in between the layers, which I agree. Next time I should try to portion out my frosting better.
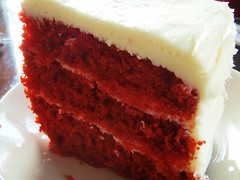
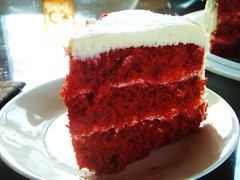
Okay, I'll admit- the bright red color really was stunning. Although the red food coloring had no flavor, it somehow made the cake taste better through my eyes.
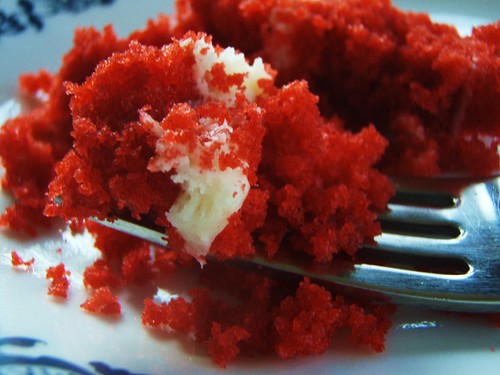
Now being that I'm not much a Red Velvet fan or even a cake fan for that matter, this particular cake tasted pretty good in my book. But it was only because it was moist and it had cream cheese frosting. Other than that, it was a typical Red Velvet cake.

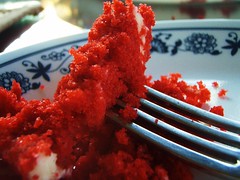
I claimed the crumbs for myself.
---RECIPE---
Taken from Apple a Day, which was taken from Cake Man Raven.
ingredients for the cake:
2+1/2 cup cake flour
1+1/2 cup sugar
1 teaspoon baking soda
1 tablespoon cocoa powder
1 teaspoon salt
2 eggs
1+1/2 cup vegetable oil
1 cup buttermilk
2 tablespoons (1 oz.) red food coloring
1 teaspoon vanilla extract
1 teaspoon white distilled vinegar
directions for the cake:
1. Preheat oven to 350 degrees F.
2. Sift together flour, sugar, baking soda, cocoa, and salt into a medium bowl.
3. Beat eggs, oil, buttermilk, food coloring, vanilla, and vinegar in a large bowl with an electric mixer until well combined. Add dry ingredients and beat until smooth, about 2 minutes.
4. Divide batter evenly between 3 greased and floured 8 inch round cake pans.
5. Bake cakes, rotating halfway through, until a toothpick inserted in the center of each cake comes out clean, 25–30 minutes. Let cakes cool 5 minutes, then invert each onto a plate, then invert again onto a cooling rack. Let cakes cool completely.
ingredients for the frosting:
12 oz. cream cheese, softened
12 oz. butter, softened (3 sticks)
1+1/2 teaspoon vanilla extract
3 cup confectioners sugar
1+1/2 cup chopped pecans (optional) (omitted)
directions for the frosting:
1. Beat cream cheese, butter, and vanilla together in a large bowl with an electric mixer until combined. Add sugar and beat until frosting is light and fluffy, 5–7 minutes.
2. Put 1 cake layer on a cake plate, level off with a serrated knife, and spread one-quarter of the frosting on top. Set another layer on top, level, and repeat frosting. Set remaining layer on top, level, and frost top and sides with the remaining frosting. Press pecans into the sides of the cake, if desired. Tip: after leveling cake, turn it upside down to reduce numbers of crumbs.
3. Chill for 2 hours to set frosting.
No comments:
Post a Comment