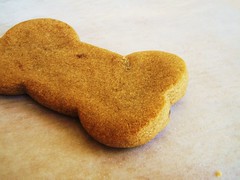
 So, did you think I would bake doggy cookies for my boyfriend's puppy, yet not bake him anything? Well you were wrong. Of course I had to- I mean, those puppy cookies tasted like crap and they had the forbidden peanut butter ingredient. I decided to try a new cookie recipe (no Cook's Illustrated Thick and Chewy, no regular sugar cookie)- I needed something new, but something I knew he'd like. Searching through Cook's Illustrated's recipes online, I came across their famous Brown Sugar Cookie. I had such a success with their regular sugar cookie, and I knew that the brown sugar addition would make it extra chewy.
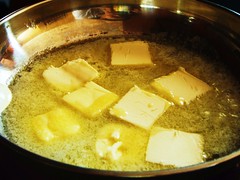

I have heard of "browning butter" before, but I've never personally done it. The recipe said to cook the melted butter for about 3 minutes, or until it smelt nutty. I'm sorry- I don't know what nutty butter smells like. I was about 5 minutes into mixing the butter where I started thinking I should just take it off the stove and call it done. Luckily, I chose to keep my pan on the stove for an extra minute, where I watched my butter boil up and literally turn brown. It was amazing; I have been enlightened by this "browning butter" technique.


The 10 tablespoons of browned butter gets mixed with 4 tablespoons of room temperature butter. Seriously guys, who comes up with these overly-accurate measurements?
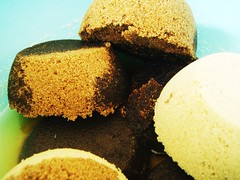
Midway, I realized that the recipe called for dark brown sugar, opposed to regular brown sugar (which I have pounds and pounds of). I dug deep in my pantry (a.k.a. the basement where I stash my not-so-common ingredients) and found a slightly old box of dark brown sugar. I measured out the sugar, and realized I was 1/4 cup short (hence, the light brown sugar chunk in the photo). The dark brown sugar was so clumpy and so stiff that my hand mixer could barely mix. The mixers would jerk every so often, even to the point where I thought it died on me. I took a look at the batter, and realized that there were huge balls of brown sugar that weren't being mixed (rewind to the Sugar Cookies I made at my mom's house. I ended up doing the same technique of squishing my fingers throughout the entire batter and squashing the balls with my fingertips).

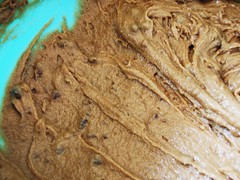
Then- believe it or not- my $7 hand mixer made its last little twirl and died slowly. My cheap ass appliance was no match to this thick brown sugar goop. I knew this day would come, but I just didn't expect it to be this soon. I guess this teaches me to invest a little more in things that are important to me.
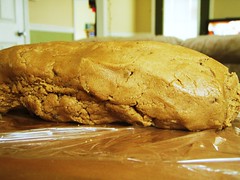
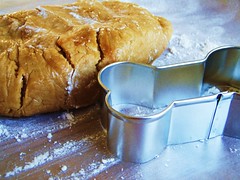
I put my hand mixer aside and mixed the rest of the dough by hand. Looking closely, I noticed quite a few small chunks of brown sugar that I didn't squish fully. I mean, I just spent 20+ minutes sifting through the dough trying to break apart these chunks of brown sugar, but I guess it just wasn't enough. And to make it even better, the stupid hand mixer didn't get to do its job thoroughly. I really need to invest in better things.
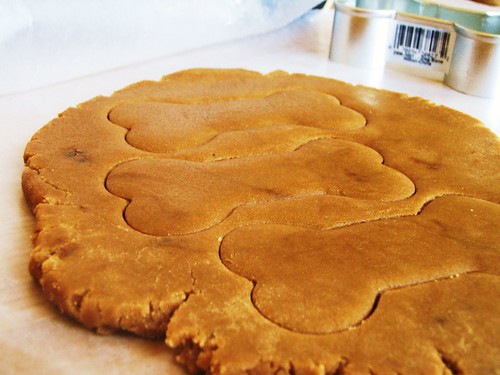
Anyways, I rolled out the dough as thick as I could (because the directions were to make regular balls of dough and let them spread out, as if you were making drop cookies). I knew that by rolling and cutting these cookies out, they wouldn't be as chewy as I'd like, but I just thought the doggy bones were too cute.
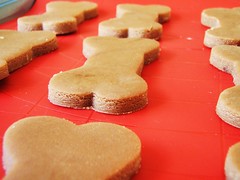
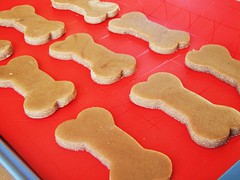
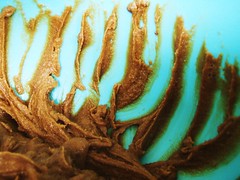
I started doubting myself at this point. These were not cookie cutter cookies (yet I rolled and cut them out), these needed to be thoroughly mixed (obvi not because of the dark brown swirls in the picture), and these needed fresh dark brown sugar (opposed to the old crusty chunks of old dark brown sugar that I used).
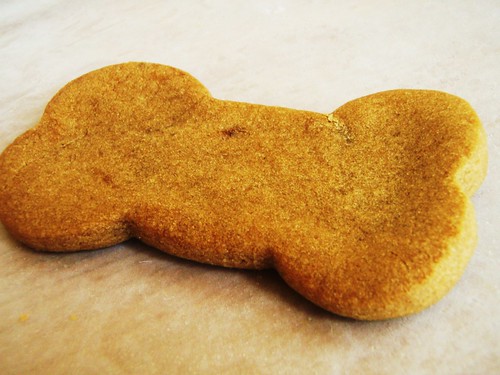
To make it even better, the cookies spread out after being baked. They looked like a cross between a dog bone and a puffy cloud.

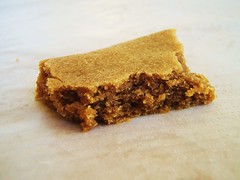
As for the taste- I can't even begin to describe. I know it doesn't look like it, but the inside was chewy and moist and had the perfect sugar cookie texture. It was slightly chewier and sweeter than the Cook's Illustrated Sugar Cookie, probably because of the dark brown sugar. Overall, I was completely blown away and honestly proud of these doggy cookies.

So what did my picky-eater think of these cookies? He "doesn't like sugar cookies" and every cut out cookie I've given him he didn't care for. Not only that, but he was hesitant to try these because they were in the same shape as the actual doggy cookies. With all that aside, he surprisingly liked these cookies. Within a few days, the entire container of these cookies were demolished and I have turned a sugar-cookie-hater into a sugar-cookie-somewhat-lover.
---RECIPE---
Taken from Cook's Illustrated.
ingredients:
14 tablespoons unsalted butter (1+3/4 sticks)
1/4 cup granulated sugar
2 cups packed dark brown sugar
2 cups unbleached all-purpose flour plus 2 tablespoons
1/2 teaspoon baking soda
1/4 teaspoon baking powder
1/2 teaspoon table salt
1 large egg
1 large egg yolk
1 tablespoon vanilla extract
directions:
1. Heat 10 tablespoons butter in 10-inch skillet over medium-high heat until melted, about 2 minutes. Continue to cook, swirling pan constantly until butter is dark golden brown and has nutty aroma, 1 to 3 minutes. Remove skillet from heat and transfer browned butter to large heatproof bowl. Stir remaining 4 tablespoons butter into hot butter to melt; set aside for 15 minutes.
2. Meanwhile, adjust oven rack to middle position and heat oven to 350 degrees. Line 2 large (18 by 12-inch) baking sheets with parchment paper. In shallow baking dish or pie plate, mix granulated sugar and 1/4 cup packed brown sugar, rubbing between fingers, until well combined; set aside. Whisk flour, baking soda, and baking powder together in medium bowl; set aside.
3. Add remaining 1 3/4 cups brown sugar and salt to bowl with cooled butter; mix until no sugar lumps remain, about 30 seconds. Scrape down sides of bowl with rubber spatula; add egg, yolk, and vanilla and mix until fully incorporated, about 30 seconds. Scrape down bowl. Add flour mixture and mix until just combined, about 1 minute. Give dough final stir with rubber spatula to ensure that no flour pockets remain and ingredients are evenly distributed.
4. Divide dough into 24 portions, each about 2 tablespoons, rolling between hands into balls about 1 1/2 inches in diameter. Working in batches, toss balls in reserved sugar mixture to coat and set on prepared baking sheet, spacing them about 2 inches apart, 12 dough balls per sheet. (Smaller baking sheets can be used, but it will take 3 batches.)
5. Bake one sheet at a time until cookies are browned and still puffy and edges have begun to set but centers are still soft (cookies will look raw between cracks and seem underdone; see photo below), 12 to 14 minutes, rotating baking sheet halfway through baking. Do not overbake.
6. Cool cookies on baking sheet 5 minutes; using wide metal spatula, transfer cookies to wire rack and cool to room temperature.
amount:
Makes 2 dozen cookies
Need To Increase Your ClickBank Commissions And Traffic?
ReplyDeleteBannerizer made it easy for you to promote ClickBank products using banners, simply visit Bannerizer, and get the banner codes for your favorite ClickBank products or use the Universal ClickBank Banner Rotator Tool to promote all of the available ClickBank products.