So, did you think I would bake doggy cookies for my boyfriend's puppy, yet not bake him anything? Well you were wrong. Of course I had to- I mean, those puppy cookies tasted like crap and they had the forbidden peanut butter ingredient. I decided to try a new cookie recipe (no Cook's Illustrated Thick and Chewy, no regular sugar cookie)- I needed something new, but something I knew he'd like. Searching through Cook's Illustrated's recipes online, I came across their famous Brown Sugar Cookie. I had such a success with their regular sugar cookie, and I knew that the brown sugar addition would make it extra chewy.
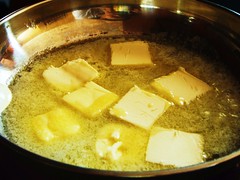
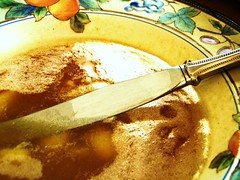
I have heard of "browning butter" before, but I've never personally done it. The recipe said to cook the melted butter for about 3 minutes, or until it smelt nutty. I'm sorry- I don't know what nutty butter smells like. I was about 5 minutes into mixing the butter where I started thinking I should just take it off the stove and call it done. Luckily, I chose to keep my pan on the stove for an extra minute, where I watched my butter boil up and literally turn brown. It was amazing; I have been enlightened by this "browning butter" technique.
The 10 tablespoons of browned butter gets mixed with 4 tablespoons of room temperature butter. Seriously guys, who comes up with these overly-accurate measurements?
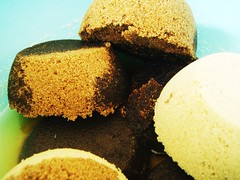
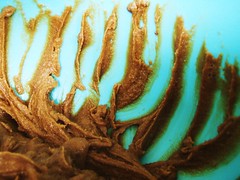
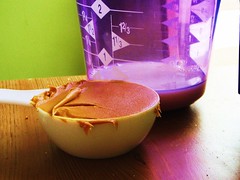
Midway, I realized that the recipe called for dark brown sugar, opposed to regular brown sugar (which I have pounds and pounds of). I dug deep in my pantry (a.k.a. the basement where I stash my not-so-common ingredients) and found a slightly old box of dark brown sugar. I measured out the sugar, and realized I was 1/4 cup short (hence, the light brown sugar chunk in the photo). The dark brown sugar was so clumpy and so stiff that my hand mixer could barely mix. The mixers would jerk every so often, even to the point where I thought it died on me. I took a look at the batter, and realized that there were huge balls of brown sugar that weren't being mixed (rewind to the Sugar Cookies I made at my mom's house. I ended up doing the same technique of squishing my fingers throughout the entire batter and squashing the balls with my fingertips).
Then- believe it or not- my $7 hand mixer made its last little twirl and died slowly. My cheap ass appliance was no match to this thick brown sugar goop. I knew this day would come, but I just didn't expect it to be this soon. I guess this teaches me to invest a little more in things that are important to me.
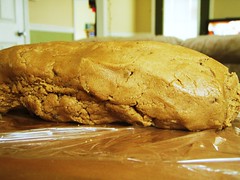
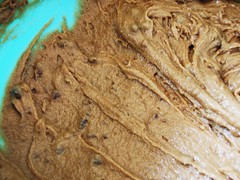
I put my hand mixer aside and mixed the rest of the dough by hand. Looking closely, I noticed quite a few small chunks of brown sugar that I didn't squish fully. I mean, I just spent 20+ minutes sifting through the dough trying to break apart these chunks of brown sugar, but I guess it just wasn't enough. And to make it even better, the stupid hand mixer didn't get to do its job thoroughly. I really need to invest in better things.
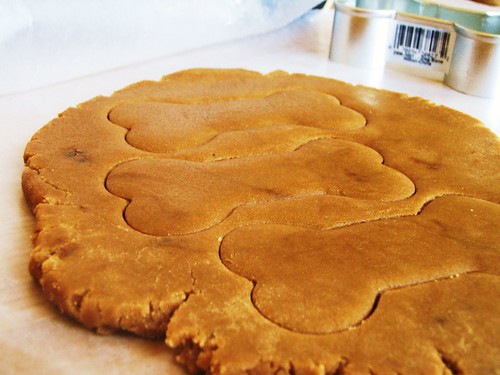
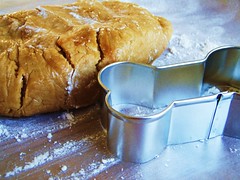
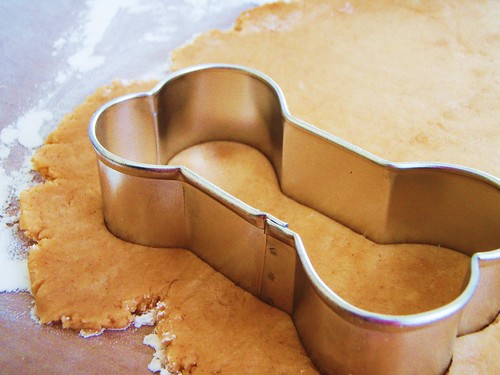
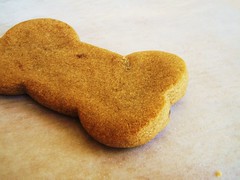
Anyways, I rolled out the dough as thick as I could (because the directions were to make regular balls of dough and let them spread out, as if you were making drop cookies). I knew that by rolling and cutting these cookies out, they wouldn't be as chewy as I'd like, but I just thought the doggy bones were too cute.
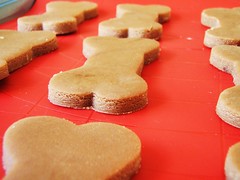
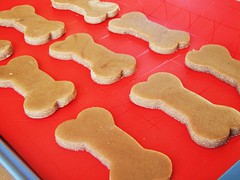
I started doubting myself at this point. These were not cookie cutter cookies (yet I rolled and cut them out), these needed to be thoroughly mixed (obvi not because of the dark brown swirls in the picture), and these needed fresh dark brown sugar (opposed to the old crusty chunks of old dark brown sugar that I used).
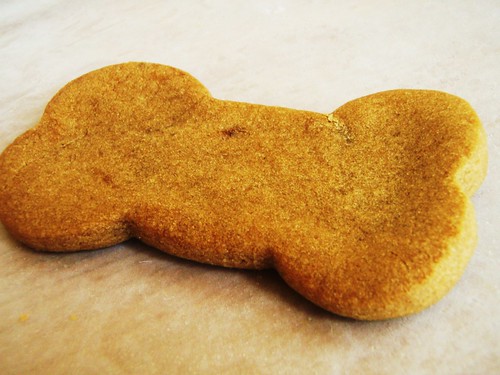
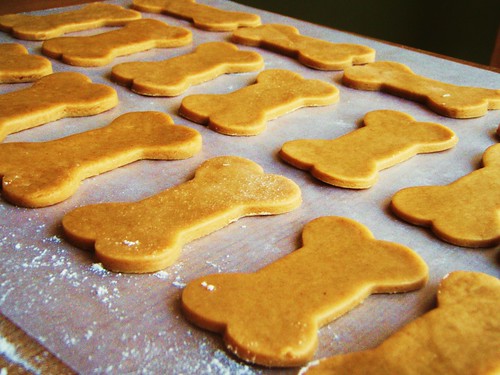
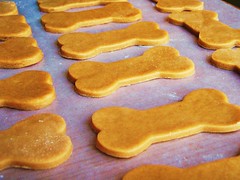
To make it even better, the cookies spread out after being baked. They looked like a cross between a dog bone and a puffy cloud.
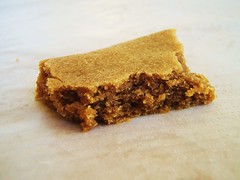
As for the taste- I can't even begin to describe. I know it doesn't look like it, but the inside was chewy and moist and had the perfect sugar cookie texture. It was slightly chewier and sweeter than the Cook's Illustrated Sugar Cookie, probably because of the dark brown sugar. Overall, I was completely blown away and honestly proud of these doggy cookies.
So what did my picky-eater think of these cookies? He "doesn't like sugar cookies" and every cut out cookie I've given him he didn't care for. Not only that, but he was hesitant to try these because they were in the same shape as the actual doggy cookies. With all that aside, he surprisingly liked these cookies. Within a few days, the entire container of these cookies were demolished and I have turned a sugar-cookie-hater into a sugar-cookie-somewhat-lover.
---RECIPE---
Taken from Cook's Illustrated.
ingredients:
14 tablespoons unsalted butter (1+3/4 sticks)
1/4 cup granulated sugar
2 cups packed dark brown sugar
2 cups unbleached all-purpose flour plus 2 tablespoons
1/2 teaspoon baking soda
1/4 teaspoon baking powder
1/2 teaspoon table salt
1 large egg
1 large egg yolk
1 tablespoon vanilla extract
directions:
1. Heat 10 tablespoons butter in 10-inch skillet over medium-high heat until melted, about 2 minutes. Continue to cook, swirling pan constantly until butter is dark golden brown and has nutty aroma, 1 to 3 minutes. Remove skillet from heat and transfer browned butter to large heatproof bowl. Stir remaining 4 tablespoons butter into hot butter to melt; set aside for 15 minutes.
2. Meanwhile, adjust oven rack to middle position and heat oven to 350 degrees. Line 2 large (18 by 12-inch) baking sheets with parchment paper. In shallow baking dish or pie plate, mix granulated sugar and 1/4 cup packed brown sugar, rubbing between fingers, until well combined; set aside. Whisk flour, baking soda, and baking powder together in medium bowl; set aside.
3. Add remaining 1 3/4 cups brown sugar and salt to bowl with cooled butter; mix until no sugar lumps remain, about 30 seconds. Scrape down sides of bowl with rubber spatula; add egg, yolk, and vanilla and mix until fully incorporated, about 30 seconds. Scrape down bowl. Add flour mixture and mix until just combined, about 1 minute. Give dough final stir with rubber spatula to ensure that no flour pockets remain and ingredients are evenly distributed.
4. Divide dough into 24 portions, each about 2 tablespoons, rolling between hands into balls about 1 1/2 inches in diameter. Working in batches, toss balls in reserved sugar mixture to coat and set on prepared baking sheet, spacing them about 2 inches apart, 12 dough balls per sheet. (Smaller baking sheets can be used, but it will take 3 batches.)
5. Bake one sheet at a time until cookies are browned and still puffy and edges have begun to set but centers are still soft (cookies will look raw between cracks and seem underdone; see photo below), 12 to 14 minutes, rotating baking sheet halfway through baking. Do not overbake.
6. Cool cookies on baking sheet 5 minutes; using wide metal spatula, transfer cookies to wire rack and cool to room temperature.
amount:
Makes 2 dozen cookies
Friday, January 29, 2010
Thursday, January 28, 2010
peanut butter doggy bones for the diva puppy's birthday
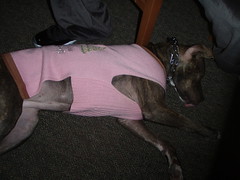
Today is a special puppy's first birthday. Her name is Xena and she is the sweetest and most energetic (not to mention, the most stylish with her new pink sweater) puppy pitbull ever. While I was busy with classes all day, she was with her daddy chasing dogs at the dog park and being treated like a little princess. But what was I to do for this little puppy? Why, bake dog treats, of course! I searched online and read my way through tons of doggy recipes. While some were disgusting (with chopped liver or strange meat pieces), some others were too difficult (yeast biscuits or dry milk powder). I finally found a simple and easy recipe- Peanut butter doggy treats (and the best part was that there were only 3 ingredients!).
Peanut butter, milk, and flour- Simple enough, but I was afraid it wouldn't be tasty enough. Especially since my boyfriend has bred the doggy version of himself- stubborn, strong, and a picky-eater. He spoils her with homemade gravies, fancy food, and always has to top off her meal with a sprinkle of cheese (lucky dog).
Tell me this cookie cutter isn't the cutest thing you've ever laid your eyes on, hehe.
Okay, I'll admit it- I tasted the doggy dough. Tease me all you want- but I was not hesitant to take a piece for myself. Verdict? Blah- nothing really. Since there was no sugar, it didn't really have a taste. So this is probably the only dough in the entire world that I won't eat.
Soon enough, I was mass producing doggy biscuits as if it was my job.
Just like I do with all cut out cookies, I placed them in the fridge to firm up before baking.
I was giddy with excitement waiting for the moment I could unveil my creations and see the look on this little puppy's face when I show her all her new treats.
When I brought them over to my boyfriend's house and showed him my present, he told me that Xena didn't like peanut butter. I stared at him in awe because I knew for a fact that I've not only seen her eat peanut butter, but demolish a whole wad of it. To show him, we gave her a treat, watched her pick it up, and take it under the table (a good sign because this is where she hoards her treasures). We watched her consume the cookie in a matter of seconds. I knew it, she loves peanut butter (despite what her peanut-butter-hating father wants).
---RECIPE---
Taken from All Recipes.
ingredients:
2 cups whole wheat flour (substituted all-purpose)
1 tablespoon baking powder
1 cup unsalted natural peanut butter (I'm pretty sure I just used Jiffy)
1 cup skim milk
directions:
1. Preheat the oven to 375 degrees F. Grease cookie sheets. Stir together the flour and baking powder; set aside.
2. In a medium bowl, mix together the peanut butter and milk. Stir in the flour mixture until well blended. Turn out dough onto a lightly floured surface and knead until smooth. Roll out to 1/4 inch thickness and cut into shapes using cookie cutters. Place 2 inches apart onto the prepared cookie sheets.
3. Bake for 20 minutes in the preheated oven, or until lightly brown. Remove from cookie sheets to cool on wire racks.
amount:
Makes about 18 treats. (I halved the recipe, and still made probably around 18 treats)
Thursday, January 21, 2010
napoleon pastry - nearly tore our relationship apart
Today was Thursday which meant my boyfriend didn't have work, which also meant we could spend every waking moment together (basically like every other day). Since we usually spend our time at his house, I had to bribe him to get him to come over to my place for a bit. I lured him with (1) he could bring his puppy, and (2) we could bake a Napoleon. I could go on and on about why I've been denying him Napoleons (similar reason why I didn't bake him the Red Velvet Cake), but let me just give you an analogy: A sandwich. A sandwich tastes good, but it's not very fun to make. You get two slices of bread and slather it with your desired topping. Although it still takes some time, such as if you wanted an egg salad sandwich (boil eggs, mash eggs, mix with mayo, whatever), IT STILL ISN'T FUN. Same with a stupid Napoleon. Period.
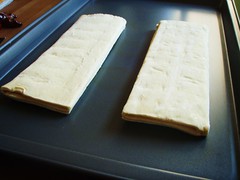
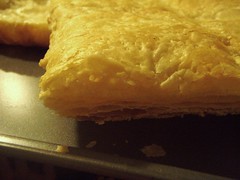
Puff pastry. These two measly sheets don't come cheap. My next mission is to attempt to hand make one of these with the help of my brand new Baking Illustrated cookbook.
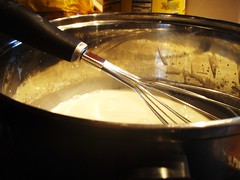
The only part which needed actual baking/creating was the pastry cream. Now, I've made custard before (for my Strawberry Tart), but this one was slightly different. The basic tempering and whatnot was familiar, but the folding of whipped cream was different. Anyways, I made my boyfriend participate in this part to make it like a "boyfriend-girlfriend" activity.
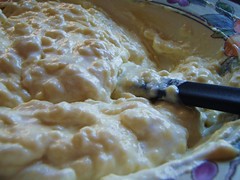
Once the custard mixture cools down, we mixed it with the whipped cream.
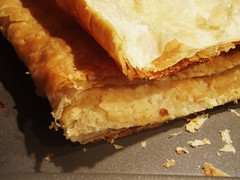
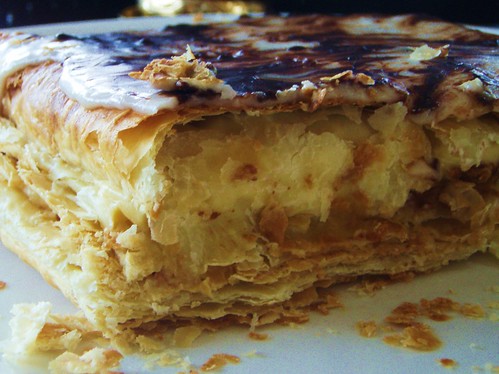
Neither of us has worked with puff pastry before, so we were quite surprised when the flat sheet of dough rolled up this large. It literally quadrupled in size. So we had to improvise, and decided on cutting this large puffy dough square in half.
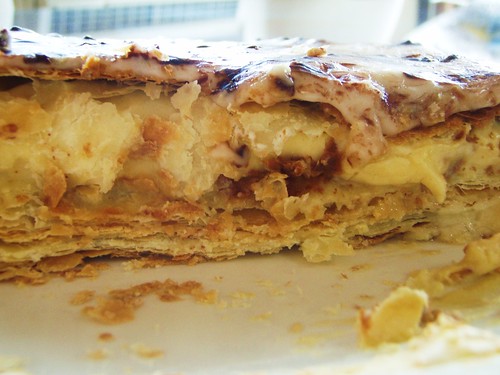
Now on to assembling the sandwich. The order is puff pastry, pastry cream, puff pastry, cream, final pastry, and on top of it all is icing. Simple enough.
So as my boyfriend was preparing the final layer of icing, I became distracted (probably going to check my photos or something) and wasn't there to oversee him. I came back, and milk was in my chocolate chip mixture (which was not stated in the directions) and I became very aggravated. I started yelling at him that all he had to do was melt the chocolate and to not stray from the directions. I should have known better, because every time we bake/cook together, he always has to do it his own way and not follow the recipe.
I quickly took over, and made beautiful lines of chocolate on the white creamy icing. I then swirled them as professionally as I could, and was gleaming with satisfaction. I turn my back for one second and I see my boyfriend grab a fork and draw crooked lines all over my beautiful creation. I began to boil with anger, followed by screaming and yelling on both of our parts. "I don't want to cook with you anymore. You aren't fun." - After hearing that, I began to rethink my whole approach on cooking.
It really hit my hard. I mean, we didn't create a gorgeous looking pastry, but the fact of the matter is that we did create something together. We spent time together doing something we both enjoy (baking for me, and eating for him, lol), and I should have just been happy for that fact alone.
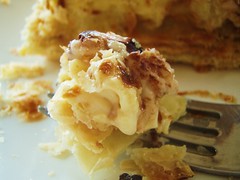
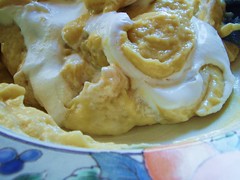
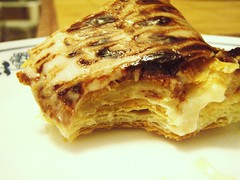
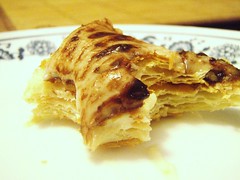
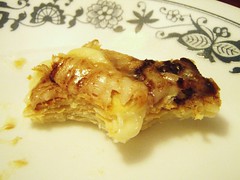
Although it wasn't beautiful, the taste was surprisingly accurate. I was scared the pastry cream wouldn't come out creamy enough, or that the puff pastry was actually too puffy. Turns out, all my Nazi habits on baking are over-excessive. It tasted delicious and it really did taste like a Napoleon.
I went up to him and wrapped my arms around him and apologized. I am a baking Nazi, and I am a perfectionist.
Right after my apology, I told him that he should have followed the directions though (hehe, I always have to get the last word). It's true though, certain things you just must follow, especially in baking. He agreed, and we both got what we wanted from each other.
I suggested to him that we should have cooking/baking days every weekend (since that's the only time we really have together). We should plan it out beforehand, gather our ingredients, and prepare a dinner and dessert. We really to need to practice this working-together kind of thing- So I guess we'll see how it turns out when this actually happens.
---RECIPE---
Taken from Diana's Desserts.
ingredients for pastry:
1/2 of a 17 1/4-ounce package (1 sheet) frozen Puff Pastry, thawed (We used both sheets, and chopped them into 2/3rds so that we'd have 2 full three-layered Napoleons. The following ingredients weren't enough to make 2 Napoleons, so we basically only used 1 sheet.)
ingredients for pastry cream:
1/4 cup granulated sugar
2 tablespoons all-purpose flour
1/8 teaspoon salt
1 cup half-and-half or light cream (we used half-and-half)
2 slightly beaten egg yolks
1/2 teaspoon vanilla extract
1/4 cup whipping cream
ingredients for glaze: (This is the part where my boyfriend followed no recipe and no directions- basically making his own slightly off-tasting glaze.)
2 cups sifted confectioners sugar
1/4 teaspoon vanilla extract
2-3 tablespoons boiling water
1+1/2 tablespoons melted semisweet chocolate
directions:
1. Preheat oven to 425 degrees F. Line 2 baking sheets with parchment paper or plain brown paper; set aside.
2. Unfold puff pastry sheet and trim edges to a 9-inch square. Cut pastry into nine 3-inch squares. Transfer pastry squares to the prepared baking sheets; prick pastry. Bake in a preheated oven for 18-23 minutes, or until golden. (Or bake according to package directions.) Carefully remove pastries from baking sheet. Cool on a rack. (We basically made our own version, and did not follow any of the directions for this puff pastry. Yeah, I know- I'm contradicting myself by not following the directions.)
3. Make pastry cream: In a heavy, medium saucepan stir together sugar, flour, and salt. Slowly stir in half-and-half or light cream. Cook and stir over medium heat until mixture is thickened and bubbly. Cook and stir for 1 minute more. Slowly stir about half of the hot mixture into beaten egg yolks. Return all to saucepan. Cook and stir for 2 minutes more. Remove from heat. Stir in vanilla. Transfer mixture to a bowl. Cover surface with plastic wrap and cool just until warm without stirring. In a small mixing bowl beat whipping cream until soft peaks form. Fold whipped cream into warm pastry cream.
4. Make glaze: In a medium mixing bowl combine confectioners' sugar and vanilla. Stir in enough boiling water to make a glaze of spreading consistency; set aside.
5. Assembling: Use the tines of a fork to separate each pastry square horizontally into 3 layers. (didn't do that. we sliced them in half though)
6. Top with pastry cream.
7. Add another puff pastry layer. Top that one with pastry cream as well.
8. Top with final layer of puff pastry.
9. Spread glaze over top, then drizzle with melted chocolate. Chill for an hour.
amount:
Makes 9 napoleons. (I don't think so)
Monday, January 18, 2010
fondue party - a.k.a. the best double date
Although I already posted the baked ziti and the cookie-dough-filled cupcakes, I thought it was only fitting that I'd post the rest of the goodies we ate at the Fondue Party.
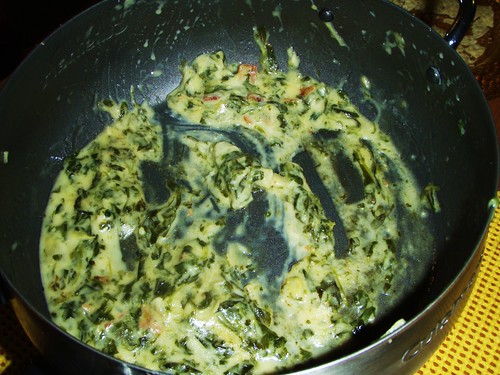
After arriving to my friend's place, we immediately began preparing our food. My friend, who had gotten a fondue pot from her boyfriend (hence, the whole reason why we were here) readied her pot, and began dumping the needed ingredients inside.
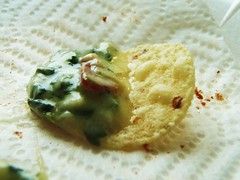
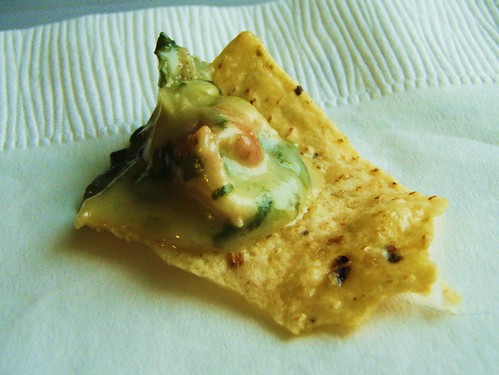
The dip was really good and really creamy. I didn't know beer went into dip but apparently I was the only one uninformed of this. I also loved the little pieces of bacon; it really pulled this dip together.
The pile of little chips got eaten so quickly that they had to open up the bag of large chips (which was to be saved for the nachos)- But how could we resist? The dip was so good!
Shortly after the moment I took this photo, the pot was completely empty thanks to my boyfriend. What I find especially interesting is that my boyfriend hates vegetables (especially spinach), yet absolutely loves spinach artichoke dip. Once again, I prove to myself that he doesn't even know what he likes/dislikes (hehe, I know him better than he knows himself- but I'll never tell him).
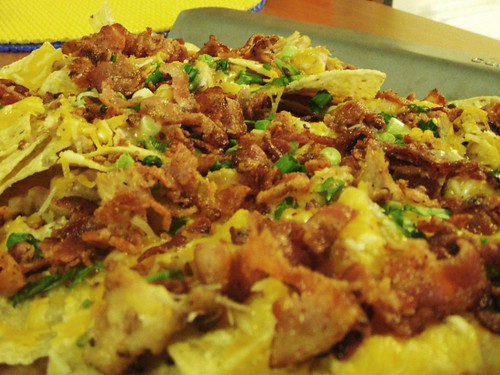
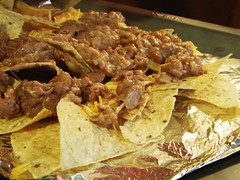
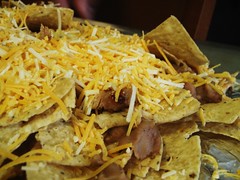
After a bit of digesting (a matter of 5 minutes), we prepared the baking sheet for the nachos. First was a layer of chips, followed by a layer of cheese and refried beans. My boyfriend (who I know hates beans), told our friends that he was "allergic" to beans, so that they would leave a corner of nachos bean-less. I, of course, later informed them that he was full of shit.
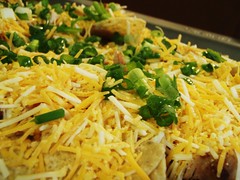
Some cooked chicken and bacon gets layered on top of that. And most importantly, a final sprinkle of some more cheese (yay) and scallions get added to the top before being placed in the oven to melt.
Meanwhile, my friend and I focused our energy on more important matters - booze. Margaritas were planned for the evening, so she already bought our needed ingredients - Tequila, Triple Sec, and lime juice. According to her, the composition was 3 parts tequila, 2 parts tripe sec, and 1 part lime juice.
Now I've never made a margarita, nor am I familiar with the division of parts, but to me it sounded a little off...perhaps a little too boozy, even for my taste. But I listened to her and dipped the cups in salt while awaiting for our concoction to form. The taste? Very boozy. Not too boozy that I couldn't drink it, but definitely not margarita-y. It wasn't slushy enough. Our later drinks we used more than 1 or 2 ice cubes (yes she was an ice cube Nazi) and those ones were slightly slushier.
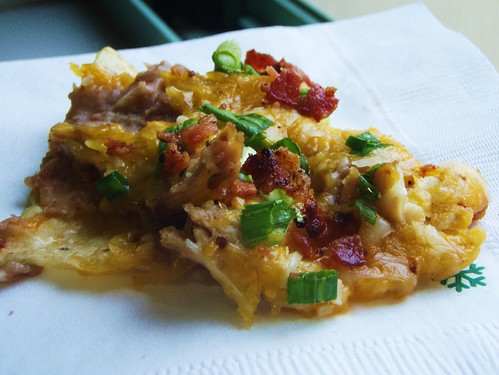
Ahh, finally. Our nachos were ready. The cheese was nice and melted, the bacon was crispy, and my mouth was yearning for some 'chos.
Unfortunately the toppings weren't evenly distributed (not including the portion of missing beans), so some chips were fully loaded with the goods, and some chips were left naked.
I hoarded the motherload piece, and my excuse was "it's for the blog" (hehe, it works every time).
As if that wasn't enough food, I then put my baked ziti in the oven to finish baking.
But of course, it wouldn't be a party if I hadn't baked some goodies. Chocolate-chip-cookie-dough-stuffed-cupcakes were baked for the party, by request of my friend. As good as they were, they were not the only goodies I brought.
The cookie dough I brought was bakeable and edible on their own. So after we unbuckled our belts (or reshaped our leggings, in our case), we ate a whole wad of cookie dough to top the night off.
The love of my life, and the love of his life. Needless to say, the food was great, and spending time with my friends was even greater.
Subscribe to:
Posts (Atom)