 I asked my grandma if she had ever made a pie crust from scratch before. Surprisingly she said yes she had! But then proceeded to tell me how when my grandpa ate it for the first time, he told her it was the best tasting cardboard he had ever eaten. Well, too bad I already had an agenda for this trip (trying my first yeast bread included). I needed to bake my first pie crust while I was here, and I was extremely determined to do so. I even randomly found a pie recipe to fill it with once I was done.
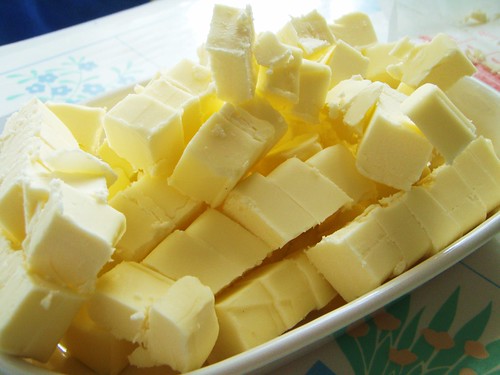
I specifically wanted an all-butter dough. No shortening and no gross fat chunks. These mini butter pieces went straight into the freezer to chill.
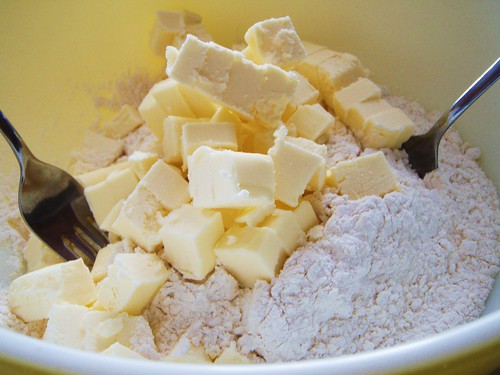
We couldn't find grandma's food processor, so I had to do it the old fashion way. This was truly a pain in my ass. Needless to say, it didn't work out so well, and I ended up just using my bare hands instead. Ughh, how I constantly wish I had a food processor.
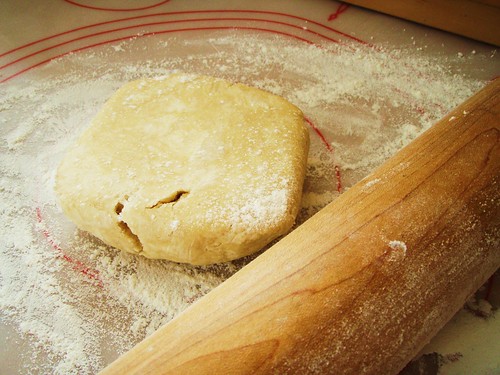
Flattened, chilled, and floured (hours later), my dough was ready to be rolled. PS- see that cool board underneath? We found that in my grandma's rubble. It's a rolling board with measurements of different size pies and what not. It really did come in handy.
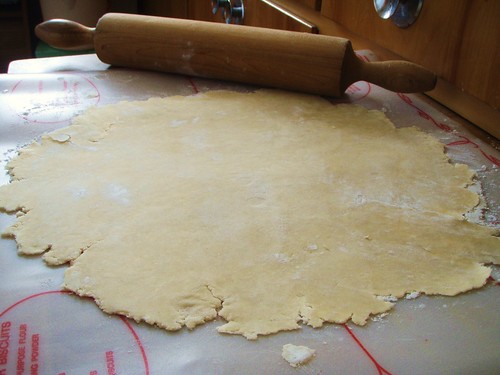
My arms got the most workout they've gotten in weeks rolling this guy out.

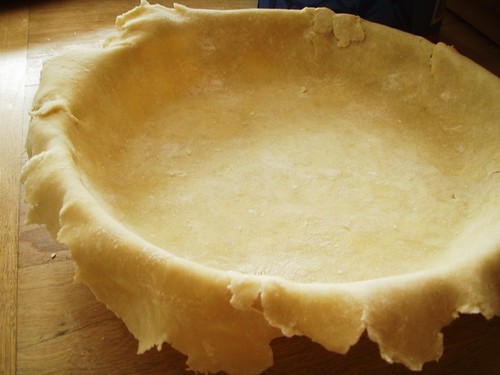
Ugh, all the cracks were beginning to form. I had to overlap dough on some parts so the pie plate wouldn't show through.

Starting to overlap pieces together.
There we go... I folded the corners in and smoothed out the sides.
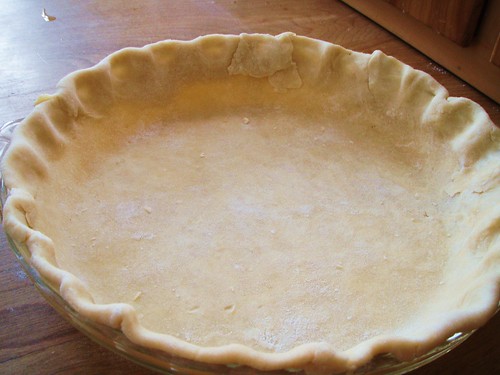
A little crimping for cuteness and voila- A homemade pie crust!

It really isn't as bad as it seems- it just takes a lot of time and effort. Otherwise, I think it is much cheaper than buying those refrigerated/frozen pie crusts from the grocery store. PS- Is that my finger in the bottom left corner? ...it's pretty creepy.
---RECIPE---
Taken from Simply Recipes.
ingredients:
2+1/2 cups all-purpose flour, plus extra for rolling
1 cup (2 sticks) unsalted butter, very-cold, cut into 1/2 inch cubes
1 teaspoon salt
1 teaspoon sugar
4 to 8 tablespoons ice water (I used all 8 tablespoons)
directions:
1. Cut the sticks of butter into 1/2-inch cubes and place in the freezer for 15 minutes to an hour (the longer the better) so that they become thoroughly chilled.
2. Combine flour, salt, and sugar in a food processor; pulse to mix (ughh, I wish). Add butter and pulse 6 to 8 times, until mixture resembles coarse meal, with pea size pieces of butter. Add ice water 1 Tbsp at a time, pulsing until mixture just begins to clump together. If you pinch some of the crumbly dough and it holds together, it's ready. If the dough doesn't hold together, add a little more water and pulse again.
3. Remove dough from machine and place in a mound on a clean surface. Gently shape into 2 discs. Knead the dough just enough to form the discs, do not over-knead. You should be able to see little bits of butter in the dough. These small chunks of butter are what will allow the resulting crust to be flaky. Sprinkle a little flour around the discs. Wrap each disc in plastic wrap and refrigerate at least 1 hour, and up to 2 days.
4. Remove one crust disk from the refrigerator. Let sit at room temperature for 5-10 minutes in order to soften just enough to make rolling out a bit easier. Roll out with a rolling pin on a lightly floured surface to a 12-inch circle; about 1/8 of an inch thick. As you roll out the dough, check if the dough is sticking to the surface below. If necessary, add a few sprinkles of flour under the dough to keep the dough from sticking. Carefully place onto a 9-inch pie plate. Gently press the pie dough down so that it lines the bottom and sides of the pie plate. Use a pair of kitchen scissors to trim the dough to within 1/2 inch of the edge of the pie dish.
amount:
Makes 2 single 10-inch pie crust
No comments:
Post a Comment